Will Vinyl Stickers Damage Car Paint?
TLDR
Vinyl stickers generally do not damage factory car paint that is fully cured and in good condition. Problems are more likely when paint is chipped, oxidized, peeling, recently repaired, or covered with a failing clear coat.
Sun exposure can also leave a visible outline because the paint around the sticker fades faster than the covered area. Remove old stickers slowly in warm conditions, use gentle heat when needed, and clean residue with a product specifically labeled safe for cured automotive paint.
Will Vinyl Stickers Damage Car Paint?
In most cases, no. Quality vinyl stickers are generally safe for clean, fully cured automotive paint with a sound clear coat. Vehicle film manufacturers design many products to adhere firmly while still allowing removal from undamaged factory paint.
But “safe for car paint” is not an unconditional promise. The condition of the paint matters just as much as the sticker.
A decal placed on healthy factory paint may come off cleanly years later. The same decal placed over peeling clear coat, touch-up paint, rust, or a recently repainted panel could pull part of the finish away during removal.
Avery Dennison states that removable vehicle films should not harm original equipment manufacturer paint when the paint is in good condition. Its installation guidance also warns that chipped paint, rust, dents, and non-factory repainting create a much higher risk of paint lifting during removal.
When Automotive Stickers Are Generally Safe
Vinyl stickers are usually a low-risk choice when all of the following are true:
- The vehicle still has its original factory paint.
- The clear coat is smooth and firmly bonded.
- There are no chips, bubbles, cracks, rust spots, or peeling areas beneath the sticker.
- The surface has been cleaned and dried correctly.
- The sticker uses outdoor-rated vinyl and an appropriate pressure-sensitive adhesive.
- The sticker is removed before the vinyl becomes brittle or badly weathered.
- Removal is done slowly, without sharp tools or excessive heat.
Factory paint is normally the safest surface because it was applied and cured under controlled manufacturing conditions. Repaired panels and aftermarket paint jobs can still accept vinyl, but the risk depends on preparation, primer, curing, and how strongly each paint layer is bonded.
For vehicle use, choose weather-resistant vinyl rather than paper labels or unknown craft materials. CustomStickers produces outdoor-rated custom bumper stickers designed for exposure to sunlight, moisture, and changing weather.
Quick Paint-Damage Risk Guide
| Vehicle Surface | General Risk Level | What to Know |
|---|---|---|
| Sound factory paint | Low | Usually the safest surface for a quality vinyl sticker |
| Fully cured professional repaint | Moderate | Safety depends on preparation, curing, and paint adhesion |
| Recently repainted panel | High | The paint may feel dry before it is fully cured |
| Chipped or scratched paint | High | Sticker removal may lift paint from the damaged edge |
| Peeling or bubbling clear coat | Very high | Adhesive may pull away loose clear coat |
| Oxidized or chalky paint | High | Adhesion and removal can be unpredictable |
| Touch-up paint | High | Small repairs may not be bonded as strongly as factory paint |
| Rusted area | Very high | Vinyl can trap contamination and may pull loose material away |
Paint Age Matters, but Condition Matters More
There is no exact vehicle age at which stickers suddenly become unsafe.
A ten-year-old car with well-maintained factory paint may be a better sticker surface than a two-year-old car with a poorly repaired quarter panel. What matters is whether the paint and clear coat are still firmly bonded.
Older paint deserves closer inspection because it is more likely to have:
- Rock chips
- Scratches
- Surface oxidation
- Clear coat failure
- Previous body repairs
- Touch-up paint
- Rust beginning around damaged edges
Avery Dennison recommends inspecting a vehicle before installing graphics and specifically identifies chips, rust, dents, and non-OEM paint as areas with a greater chance of damage during removal. 3M also considers aged, chalked, unstable, improperly cured, or previously damaged coatings unsuitable for predictable graphic removal.
Run a clean hand lightly over the intended area and inspect it under bright light. Do not apply a sticker if the surface feels chalky, has visible bubbles, or shows clear coat flaking around the edges.
Clear Coat Condition Is One of the Biggest Factors
Most modern vehicle paint systems use a colored basecoat beneath a transparent clear coat. The sticker bonds to the clear coat rather than directly to the color layer.
A healthy clear coat creates a smooth, stable surface. A failing clear coat does not.
Warning signs include:
- Cloudy or milky patches
- Small bubbles
- Flaking edges
- A rough, chalky texture
- Sections that appear dull even after washing
- Clear film peeling from the roof, hood, or trunk
Do not use a sticker to cover clear coat failure. It may hide the problem temporarily, but the adhesive can bond to loose material and pull it away later.
And once clear coat has started separating from the layer below it, even careful removal may cause additional peeling. The sticker did not necessarily create the failure, but it can expose how weak the surface already was.
Be Careful With Recently Repainted Vehicles
A recently repainted car or repaired body panel needs extra time before any self-adhesive decal is installed.
Paint can feel dry, look glossy, and be safe to drive before it has fully cured. Solvents may still be escaping from the paint system. Applying vinyl too soon can affect adhesion, trap solvents, leave an impression, or increase the chance that paint will lift during removal.
There is no universal waiting period that applies to every repaint. Cure time depends on:
- The paint system
- Clear coat type
- Number and thickness of coats
- Whether the finish was baked or air-dried
- Temperature and humidity
- Ventilation
- The body shop’s application process
PPG instructs users to apply self-adhesive decals only over fully cured clear coat, not directly over basecoat. Its technical guidance also notes that full curing can take longer than the time required for a vehicle to return to service. Avery Dennison similarly advises following the paint manufacturer’s complete drying and curing recommendations.
Do not assume that a generic 24-hour, seven-day, or 30-day rule applies to your vehicle. Ask the body shop that performed the repair when pressure-sensitive vinyl can safely be installed on that specific paint system.
Why Paint Can Look Different Around an Old Sticker
Sometimes a sticker comes off without removing any paint, but a lighter or darker outline remains.
This is usually caused by uneven environmental exposure rather than adhesive damage.
The uncovered paint has spent months or years exposed to:
- Ultraviolet light
- Heat
- Road salt
- Rain
- Air pollution
- Washing
- Waxing and polishing
- General oxidation
The paint beneath an opaque sticker has been partially shielded from those conditions. When the sticker is removed, the covered section may look newer, darker, or glossier than the surrounding finish.
This effect is sometimes called ghosting or differential fading. It tends to be more noticeable on dark or bright colors, older vehicles, horizontal panels, and cars parked outside in strong sunlight. 3M notes that prolonged exposure to UV light, heat, and humidity changes the condition of graphic film and can contribute to difficult removal, fading, and staining concerns.
Mild differences caused by surface oxidation may improve after washing, decontamination, and careful polishing. Deeper color fading may not polish out completely because the color itself has changed.
How Installation Affects the Final Result
Good removal starts with good installation.
Inspect the Paint First
Look closely for chips, scratches, peeling clear coat, rust, body repairs, or touch-up paint. Avoid placing the sticker over any questionable area.
Clean the Surface
Wash away dirt and road film. Remove wax, grease, and oily residue using a cleaner approved for automotive paint. Dry the panel completely before installation.
Avery Dennison recommends cleaning vehicle surfaces thoroughly and testing solvents in an inconspicuous area before wider use.
Avoid Installing on a Hot Panel
A sun-heated body panel can make adhesive grab too quickly. Very cold conditions can make the vinyl stiff and reduce its initial bond.
Install the sticker in the shade, preferably in a clean and temperature-controlled area. Follow the application-temperature range given by the vinyl manufacturer.
Do Not Cut Directly on the Paint
Never trim a sticker with a blade while it is sitting on the vehicle unless you are trained and using a paint-safe cutting system. One light knife stroke can cut through the clear coat.
Remove Deteriorating Stickers
Do not leave a vinyl sticker in place indefinitely after it begins cracking, shrinking, discoloring, or lifting at the edges. Old film becomes brittle and may come off in tiny pieces while leaving more adhesive behind.
How to Safely Remove a Vinyl Sticker From Car Paint
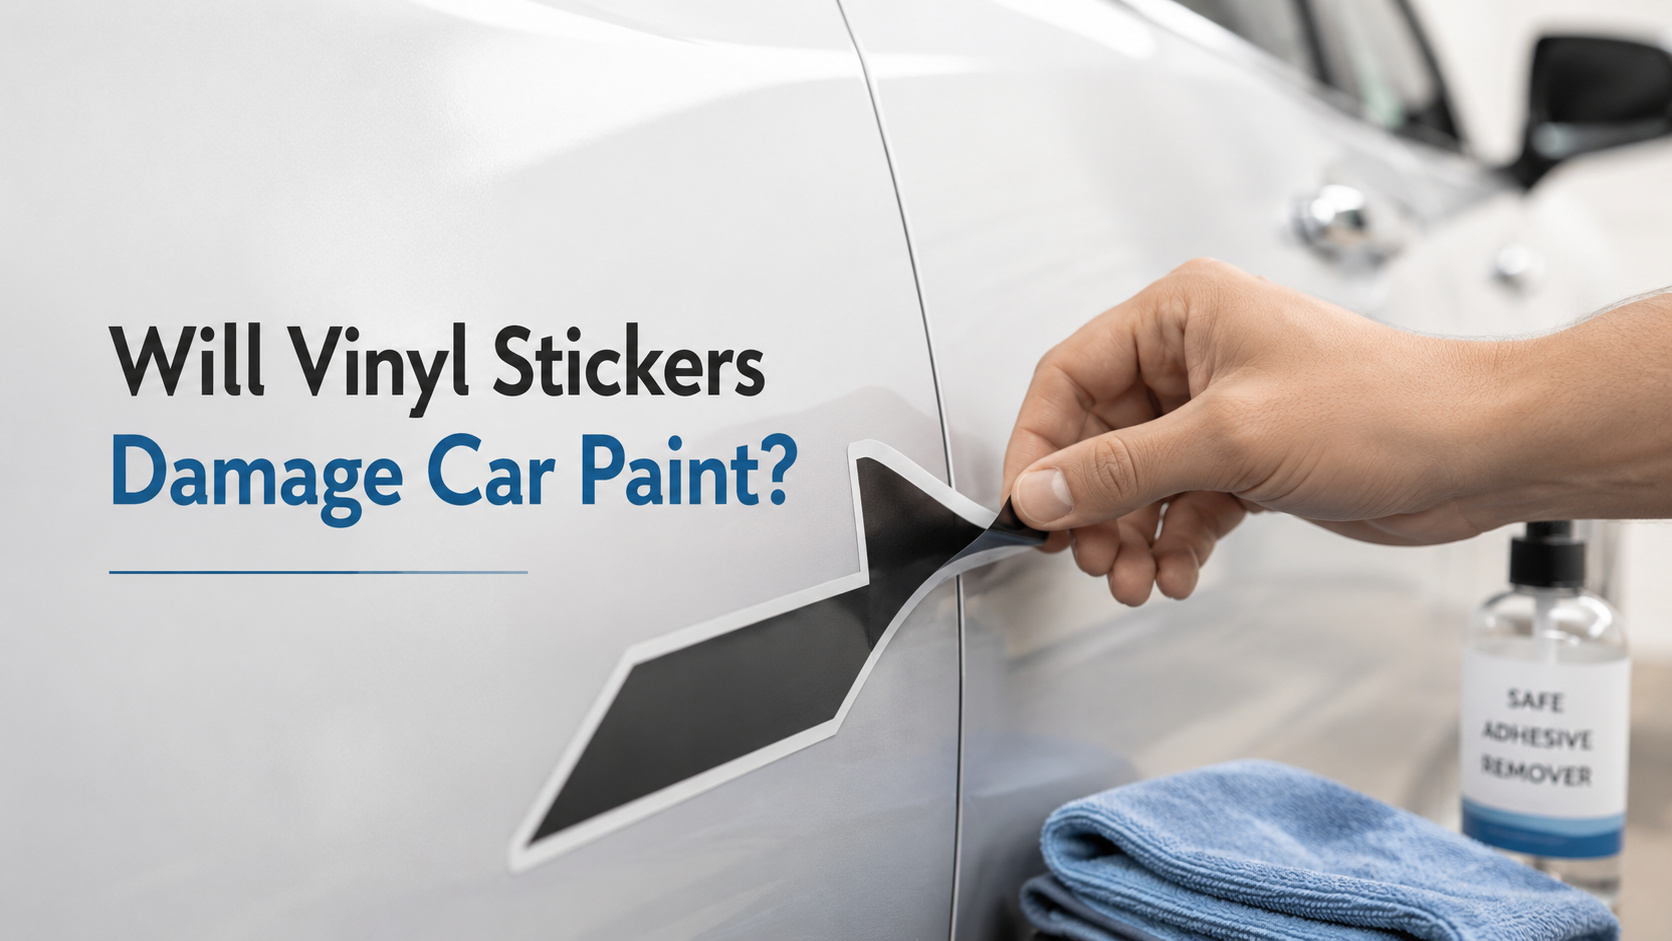
Patience matters more than force. The goal is to soften the adhesive enough that the vinyl releases without pulling hard on the paint.
1. Park in a Warm, Shaded Area
Avoid removing a sticker from a freezing-cold panel. 3M recommends removing finished graphics when the temperature is above approximately 64°F because colder film can become brittle and break into small pieces.
Do not work on a panel that is extremely hot from direct summer sun either. A warm, comfortable surface is easier to control.
2. Wash and Dry the Area
Remove grit from around the sticker so it cannot scratch the paint while you work.
3. Warm the Sticker Gently
Use a hair dryer on low or medium heat. Keep it moving and warm one small section at a time.
The sticker should become flexible. The paint should not become painfully hot to the touch.
Professional film-removal bulletins may specify higher temperatures for particular products and substrates, but those instructions are intended for trained users with temperature-control equipment. Excessive heat can damage paint, plastic trim, rubber seals, and nearby components. 3M confirms that heat can soften adhesive and reduce the force needed for removal.
4. Lift an Edge Without Metal Tools
Use your fingernail, a plastic razor designed for detailing, or the edge of a soft plastic card.
Do not use a metal razor blade, knife, screwdriver, or abrasive pad on painted bodywork.
5. Pull Slowly
Fold the vinyl back over itself and peel gradually rather than pulling it straight away from the panel.
Work in short sections. If the sticker tears, warm the next area and continue.
3M notes that removal speed and angle affect how much adhesive remains. Slow removal generally helps keep the film intact and reduces tearing and residue.
6. Stop if Paint Begins to Move
If you see clear coat, color, or touch-up paint lifting with the sticker, stop immediately.
Do not assume that pulling faster will get the difficult part over with. It usually makes the damage larger.
A professional detailer, wrap installer, or body shop may be able to continue with controlled heat and specialized tools.
7. Clean the Surface
After the sticker is gone, wash the area and inspect it under good lighting. Remove any remaining adhesive before applying wax or sealant.
How to Remove Adhesive Residue Safely
Sticky residue does not automatically mean the paint has been damaged. It usually means part of the adhesive stayed behind while the vinyl separated.
Residue is more common when:
- The sticker is old.
- The film has become brittle.
- The panel was cold during removal.
- The sticker was pulled too quickly.
- The adhesive was not designed to be removable.
- The vehicle spent years in strong sun and heat.
Start with the least aggressive method.
Apply a small amount of automotive adhesive remover that is specifically labeled safe for cured vehicle paint. Test it in an inconspicuous area first. Allow it to work according to the product instructions, then wipe gently with a clean microfiber towel.
3M produces non-abrasive adhesive removers intended for cured automotive paint, which illustrates why a paint-specific product is safer than scraping or experimenting with strong household solvents.
Avoid using:
- Metal blades
- Scouring pads
- Dry scraping
- Acetone
- Lacquer thinner
- Gasoline
- Unapproved industrial solvents
- Abrasive polishing compounds as a first step
After the residue is gone, wash the panel again. A light polish may help even out mild oxidation, followed by wax or paint sealant.
What to Do if the Sticker Pulls Off Paint
Stop removing the sticker and examine what came away.
A small chip may indicate previous damage or weak touch-up paint. A larger sheet of clear coat or color can point to poor adhesion between paint layers, an improperly cured repaint, or advanced clear coat failure.
Do not apply more adhesive remover to exposed primer or bare metal unless the product manufacturer says it is safe. Clean the area gently, keep it dry, and have a body shop inspect it before corrosion begins.
Frequently Asked Questions
Can Vinyl Stickers Ruin Factory Paint?
Quality vinyl normally does not ruin sound factory paint. The risk increases when the paint is chipped, oxidized, peeling, previously repaired, or removed with excessive force.
Can I Put a Sticker on a Newly Painted Car?
Wait until the paint and clear coat are fully cured and the body shop approves vinyl application. A vehicle being ready to drive does not necessarily mean the paint is ready for adhesive.
Is Adhesive Residue Permanent?
Usually not. Most residue can be removed with a non-abrasive automotive adhesive remover that is approved for cured paint. Test the cleaner first and follow its directions.
Why Is the Paint Darker Under the Sticker?
The sticker may have shielded the covered paint while the surrounding area experienced more sunlight and weather exposure. This can leave a visible outline even when no paint was pulled off.
How Long Can a Sticker Stay on a Car?
Follow the rated outdoor service life of the specific vinyl. Climate, sun exposure, panel direction, and maintenance affect longevity. Remove the sticker when you notice cracking, shrinking, discoloration, or brittle edges rather than waiting for it to fail completely.
The Bottom Line
So, will vinyl stickers damage car paint? Usually not when the sticker is made for outdoor use, the paint is fully cured and in good condition, and removal is handled carefully.
Most serious problems begin with an already vulnerable surface. Peeling clear coat, chips, oxidation, touch-up paint, and recently refinished panels all deserve caution. Long-term sun exposure can also leave a visible outline even when the adhesive causes no direct damage.
Inspect the paint before installation. Use the right vinyl. Remove it slowly while it is still in good condition. And when the history of the paint is uncertain, a window sticker or removable magnetic sign may be the safer choice.