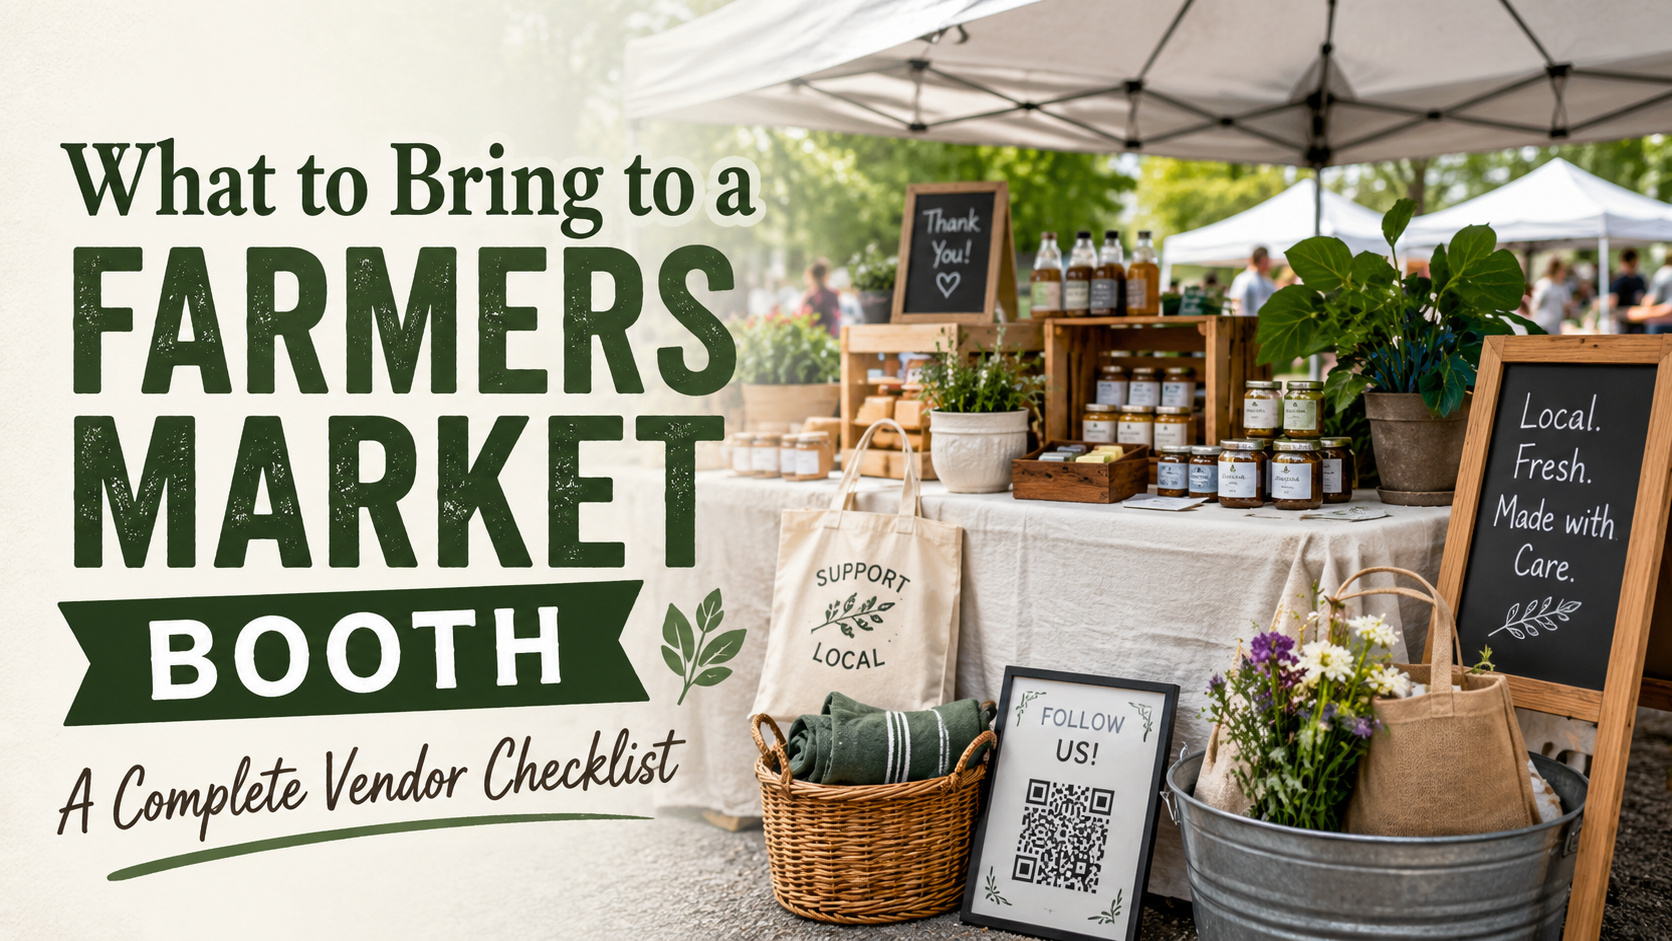
What to Bring to a Farmers Market Booth: A Complete Vendor Checklist
TLDR
A prepared farmers market booth should include:
- A canopy, canopy weights, tables, chairs, and weather protection
- Products, display fixtures, signs, price tags, and table coverings
- A card reader, charged phone, cash box, and backup payment method
- Bags, boxes, labels, receipts, and other packaging supplies
- Business cards, branded stickers, QR codes, and promotional materials
- Water, food, sunscreen, basic tools, cleaning supplies, and an emergency kit
Pack everything at least one day before the market. Then use a printed checklist while loading your vehicle so the box containing your card reader does not somehow remain on the kitchen counter.
A farmers market booth is a temporary retail store. It needs to attract attention, display products clearly, process payments, handle unpredictable weather, and help customers remember your business after they leave.
That means figuring out what to bring to a farmers market booth involves more than loading products into a car. You need equipment, signs, packaging, payment tools, personal supplies, and backups for the small problems that tend to appear five minutes before the market opens.
Here is a practical farmers market vendor checklist you can adapt for produce, baked goods, handmade products, artwork, candles, packaged foods, and other small-business products.
Start With Market Rules and Required Documents
Before packing tables or displays, review the rules provided by the market organizer. Requirements vary by location, product type, and individual market.
Your document folder may need to include:
- Vendor approval or registration confirmation
- Business license
- Sales tax permit
- Food handling permit
- Cottage food registration
- Liability insurance information
- Product certifications
- Ingredient and allergen documentation
- Emergency contact information
- Market layout and assigned booth number
Keep printed copies in a waterproof folder. It is also smart to save digital copies on your phone or in cloud storage.
Food vendors should pay particular attention to rules covering refrigeration, temperature control, handwashing, sampling, ingredient labels, and exposed food. Do not assume the rules at one market will automatically apply at another. The U.S. Small Business Administration recommends checking applicable licenses, permits, registration requirements, and insurance when operating a business.
Bring a Secure Canopy and Booth Structure
Most outdoor farmers market booths begin with a 10-by-10-foot canopy, although you should confirm the dimensions allowed by your market.
Bring:
- Canopy or pop-up tent
- Approved canopy weights
- Sidewalls or weather panels
- One or two folding tables
- Folding chair or stool
- Tablecloths
- Tablecloth clips
- Ground tarp, if allowed
- Small step stool
- Hand truck or collapsible wagon
Canopy weights are not optional decoration. A canopy can become dangerous when the wind picks up, even if the morning starts calm. Use a secure weight on every leg and follow the weight requirements set by the market.
Avoid relying on stakes unless the organizer specifically permits them. Many markets take place on pavement, and some grassy locations prohibit stakes because of underground irrigation or utility lines.
A folding wagon is also worth bringing. Carrying six plastic totes across a parking lot before sunrise builds character, but there are easier ways to develop character.
Use Displays That Make Products Easy to Shop
A flat table covered with products may technically work, but it makes customers scan everything at once. Create different heights so shoppers can understand your selection more quickly.
Useful display supplies include:
- Wooden crates
- Tiered shelves
- Display risers
- Baskets
- Trays
- Acrylic stands
- Pegboards
- Grid walls
- Clothing racks
- Print racks
- Product stands
- Small mirrors
- Tabletop easels
Place your strongest or most visually interesting products near the front of the booth. Keep fragile or high-value products farther inside, where they are less likely to be bumped.
Your booth should look full without becoming crowded. Leave enough open space for customers to pick up products, read labels, and put an item back without knocking over half the display.
It also helps to pack a few extra display pieces. Your setup may look different in person than it did in your living room, especially when neighboring tents, sunlight, and foot traffic enter the picture.
Pack Clear Signs and Price Labels
People are less likely to approach a booth when they cannot quickly tell what it sells. Your main sign should be visible from outside the booth and easy to read while customers are walking.
Consider bringing:
- Large business-name banner
- Product category signs
- Individual price tags
- Menu or price board
- Sale or bundle signs
- Payment method sign
- Social media sign
- QR code sign
- Ingredient and allergen labels
- Care instruction cards
- Sold-out signs
- “Back in five minutes” sign
Put prices on every product or product group. Some customers will ask when a price is missing. Many will simply move on.
Keep the wording simple. A shopper should not have to study a paragraph to learn that three jars cost $20. Use large text, good contrast, and consistent formatting.
Dry-erase signs or chalkboards can help when prices and inventory change frequently. Printed signs tend to look cleaner when the same information will be used every week.
Bring Enough Inventory, but Keep It Organized
Estimate inventory based on the expected attendance, product price, past sales, and how much can fit safely inside your booth.
Separate inventory into clear categories before loading it. Label storage bins so you can restock without opening every container under the table.
Your inventory supplies may include:
- Finished products
- Backup inventory
- Product variants
- Replacement items
- Testers or display samples
- Product bundles
- Seasonal items
- Preorders for customer pickup
- Inventory count sheet
- Restock bins
- Sold-product storage containers
Avoid placing every item on the table at once. A smaller, organized display can look better than a table buried under inventory. Refill it throughout the day.
Track what sells, not just total revenue. Record product type, size, scent, flavor, design, or color. After a few markets, this information will help you decide what to make more of and what no longer deserves an entire storage tote.
Prepare More Than One Payment Method
Customers increasingly expect to pay by card or phone, but technology is not always cooperative. Bring at least one backup payment option.
Your payment kit should include:
- Mobile card reader
- Fully charged phone or tablet
- Charging cable
- Portable power bank
- Cash box or cash pouch
- Small bills
- Coins, when needed
- Receipt book
- Sales tax calculator or reference sheet
- Payment app login information
- Personal hotspot, if available
Test your card reader before leaving home. Install updates, confirm the account login, and process a small test transaction if the device has not been used recently.
Keep cash secure and out of sight. A waist pouch or crossbody cash bag can be more practical than leaving a cash box unattended behind the table.
You should also know how you will record cash transactions. Accurate records make inventory management, bookkeeping, and end-of-day reconciliation much easier.
Bring Packaging That Can Handle the Product
Good packaging protects the customer’s purchase and makes it easier to carry through the rest of the market.
Depending on what you sell, bring:
- Paper shopping bags
- Plastic merchandise bags
- Reusable bags
- Bakery boxes
- Product boxes
- Food-safe bags
- Tissue paper
- Glassine bags
- Protective sleeves
- Bubble wrap
- Jar dividers
- Tape
- Twine or ribbon
- Thank-you cards
- Care instruction cards
- Receipts
Choose packaging based on the product, not only its appearance. Artwork needs protection from bending and moisture. Glass jars need padding. Baked goods need food-appropriate packaging. Candles may need protection from direct heat and sunlight.
Prepare more packaging than your expected number of transactions. Bags can tear, customers may divide purchases into gifts, and a busy market is a poor place to discover that you brought 40 bags for 55 orders.
Use Stickers and Labels to Strengthen Your Branding
Farmers market packaging does not need to be expensive or elaborate. A plain bag, box, or jar can look finished once it has a clear branded label.
Consider using labels for:
- Business logos
- Product names
- Ingredients
- Allergens
- Flavor or scent names
- Care instructions
- Batch information
- Social media handles
- Website addresses
- Thank-you messages
For repeated packaging, custom labels can make products easier to identify and help separate similar varieties. Roll labels are useful when applying the same design to a larger number of packages, while sheet labels are often easier to store and apply for smaller batches.
You can also give shoppers custom stickers with their purchases. A sticker can serve as a small giveaway, package seal, or reminder of the business after the market ends. Keep the design simple enough that someone would actually place it on a bottle, laptop, cooler, or notebook.
Do not overload a small label with every piece of business information. Put required product details on the packaging, then use a separate card or QR code for longer instructions and brand information.
Make It Easy for Customers to Find You Again
Not every interested shopper will buy immediately. Some may want to place an order later, follow your social account, or find your next market.
Bring at least one take-home item that includes:
- Business name
- Website
- Email address
- Social media handle
- Online store
- Upcoming market dates
- QR code
Printed business cards work well for custom orders, wholesale inquiries, wedding requests, and customers who want to shop later.
A QR code can lead to your website, online store, mailing list, menu, or social profile. Digital.gov describes QR codes as scannable two-dimensional codes that commonly connect users to an online resource.
Always test printed QR codes from several distances and on both Android and Apple phones. Test the final printed version, not just the image on your computer. Place the code where customers can scan it without leaning across products or blocking the checkout area.
Prepare Sampling and Food-Service Supplies
Food samples can help customers understand an unfamiliar flavor or product, but sampling rules vary. Ask the market organizer what is permitted before preparing anything.
A sampling kit may include:
- Sample cups
- Toothpicks
- Napkins
- Serving utensils
- Disposable gloves
- Tongs
- Covered sample trays
- Handwashing supplies
- Sanitizer
- Cleaning cloths
- Trash container
- Ingredient and allergen sign
Keep the sampling area separate from payment equipment when possible. Money, phones, and card readers are handled constantly and should not share space with ready-to-eat samples.
Bring a clear trash container for used sample cups and napkins. Check it regularly so the front of your booth stays clean.
Plan for Heat, Rain, Wind, and Cold
Outdoor markets can shift from pleasant to uncomfortable quickly. Pack for the forecast, then add a few supplies for the forecast being wrong.
Weather supplies may include:
- Sunscreen
- Hat
- Sunglasses
- Rain jacket
- Canopy sidewalls
- Tarps
- Plastic product covers
- Towels
- Hand warmers
- Fan
- Cooling towel
- Extra socks
- Layered clothing
- Waterproof storage bins
Protect paper products, labels, electronics, and backup inventory from moisture. Lidded plastic totes are usually safer than open cardboard boxes.
Bring clips for signs and tablecloths. Wind will locate the one unattached price card within seconds.
Do Not Forget Personal Comfort Supplies
Market days are physically demanding. You may be standing, talking, lifting products, and processing transactions for several hours.
Pack:
- Water
- Lunch
- Snacks
- Medication
- Comfortable shoes
- Extra clothing
- Hand sanitizer
- Tissues
- Lip balm
- Sunscreen
- Phone charger
- Small first-aid kit
- Pain reliever
- Bug spray
Find out where the restrooms are before the market opens. When working alone, ask the market manager about booth coverage or make an arrangement with a neighboring vendor.
A chair is useful, but avoid sitting at the back of the booth while looking at your phone. You do not need to stand at attention all morning, but customers are more likely to engage when the booth feels open and attended.
Build a Small Farmers Market Emergency Kit
A compact repair kit can save the day when a sign breaks, a table wobbles, or packaging splits.
Include:
- Scissors
- Utility knife
- Clear tape
- Painter’s tape
- Duct tape
- Zip ties
- Safety pins
- Binder clips
- Permanent markers
- Pens
- Notepad
- Rubber bands
- String
- Small screwdriver
- Multi-tool
- Extension cord, if electricity is provided
- Spare batteries
- Cleaning spray
- Paper towels
- Trash bags
Store these supplies together in a clearly marked container. You should be able to find the tape without unpacking the booth.
Use a Final Farmers Market Packing Checklist
Divide your master checklist into categories rather than keeping one long list. This makes it easier to notice what is missing.
Booth Equipment
- Canopy
- Weights
- Tables
- Chairs
- Tablecloths
- Displays
- Wagon
Products and Packaging
- Inventory
- Backup inventory
- Bags
- Boxes
- Labels
- Tissue paper
- Thank-you cards
Sales and Marketing
- Banner
- Price signs
- Business cards
- Stickers
- QR code
- Promotional materials
Payment Supplies
- Card reader
- Phone
- Power bank
- Cash
- Receipt book
Personal and Emergency Supplies
- Water
- Food
- Sunscreen
- Weather gear
- First-aid kit
- Repair kit
- Cleaning supplies
Penn State Extension also recommends using a comprehensive itemized farmers market checklist for organizers, managers, and vendors preparing for market day.
Review the checklist once while packing and again while loading the vehicle. A color-coded tote system can make the process faster: one color for booth equipment, one for inventory, one for packaging, and one for sales supplies.
Final Thoughts
Knowing what to bring to a farmers market booth removes much of the stress from market day. Start with the essentials: secure equipment, organized products, readable prices, reliable payment options, protective packaging, and basic personal supplies.
Then add the details that make the booth easier to shop and easier to remember. Clear labels, a simple banner, branded packaging, business cards, and a tested QR code can turn a one-time transaction into a repeat customer.
And keep notes after every event. The most useful farmers market checklist is the one that gets a little better each time you use it.