
TLDR
You do not need to buy a complete emergency kit in one trip. Start by assessing your household and organizing supplies you already own. Then add water and food, lighting and communication equipment, health essentials, sanitation supplies, documents, and a portable go-bag over several months. Finish by testing everything and scheduling recurring reviews. A three-day supply is a practical first milestone, but local hazards, medical needs, pets, climate, and evacuation risks may justify more.
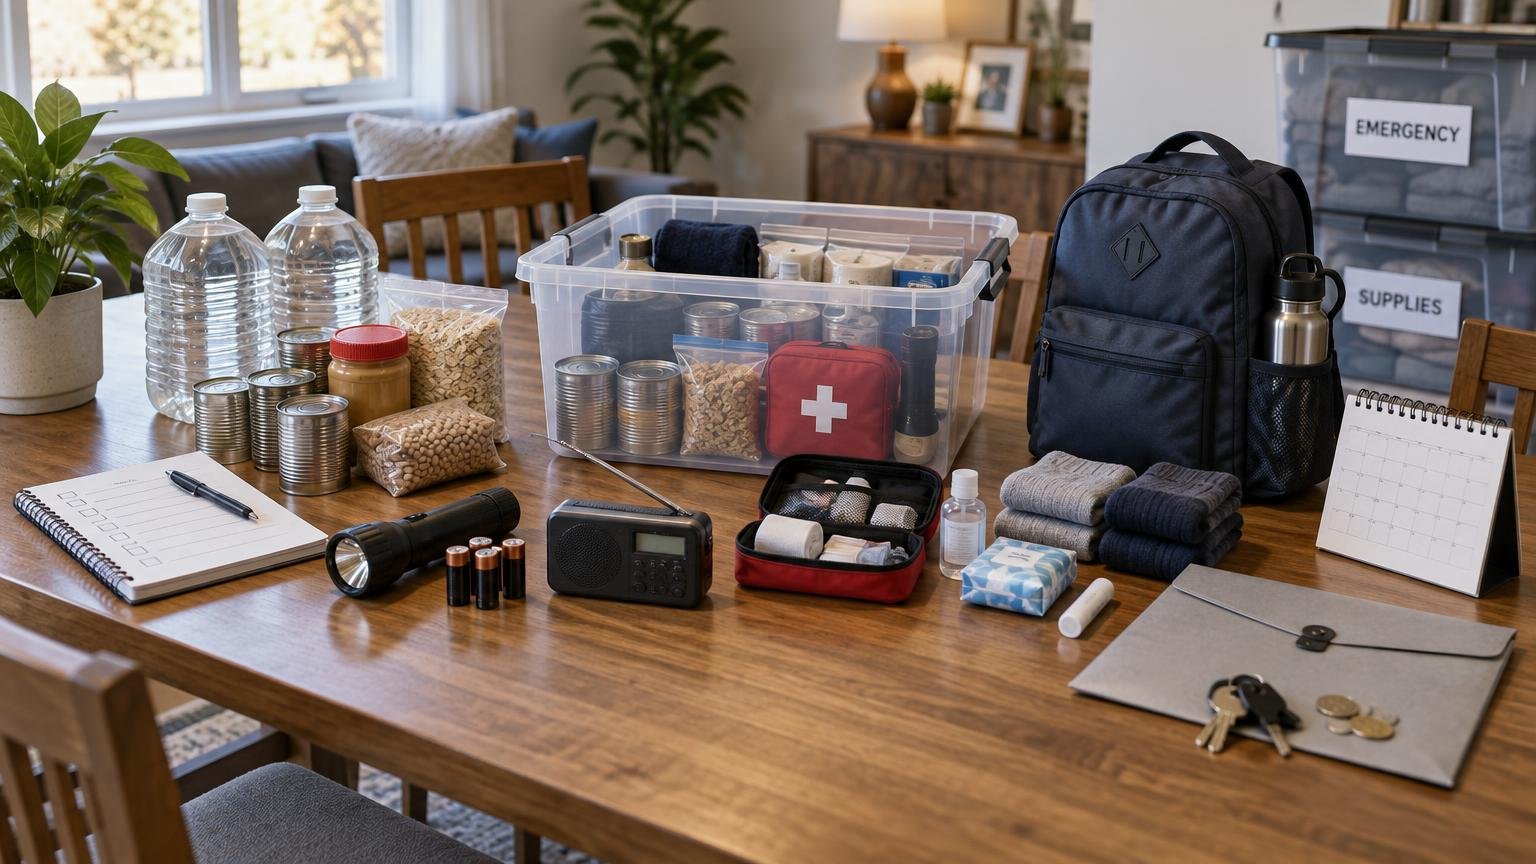
If your goal is to build emergency kit over time, treat preparedness as a household system rather than a shopping list. The system should support two different situations: remaining safely at home during a disruption and leaving with essential supplies during an evacuation. It should also account for the information, medications, equipment, and routines your household depends on every day.
The eight-month schedule below spreads out the work and the expense. Move faster, repeat a month, or change the order when local risks demand it. Buying less-used gear can wait; protecting daily-critical needs cannot.
Before Month 1: Set a realistic starting goal
Use 72 hours as an initial milestone rather than a universal finish line. Review the hazards most likely to affect your area, such as severe weather, wildfire, flooding, earthquakes, extreme temperatures, extended outages, or evacuation orders. Check your local emergency-management agency for alert enrollment, evacuation information, and location-specific recommendations.
Write down the people, animals, equipment, and routines your plan must support. Include prescriptions, mobility aids, powered medical equipment, infant supplies, pet needs, food restrictions, and anything else that would become urgent if stores closed or power failed. Then choose a manageable monthly amount of money or a short list of tasks. Progress matters more than buying everything immediately.
Month 1: Assess, gather, and organize
Begin with an inventory instead of a shopping trip. Look for flashlights, batteries, basic tools, unopened shelf-stable food, spare charging cables, blankets, hygiene supplies, backpacks, and a manual can opener. Test equipment before counting it as ready.
Choose an accessible location for home supplies. Avoid areas subject to routine flooding, extreme heat, or difficult access. Use containers you can open and move, and separate supplies into three groups: home reserves, daily-critical personal items, and equipment intended for a future go-bag.
Make a written gap list. The categories in a detailed 72-hour emergency kit checklist can help you find omissions, but prioritize items according to your household rather than buying every possible accessory.
Month 2: Add water and practical food
Build your water reserve first. Ready.gov uses a baseline of one gallon per person per day for at least three days, covering drinking and sanitation. That means a two-person household starts with six gallons, while a four-person household starts with 12. Some people, pets, climates, and medical circumstances require more. Ready.gov’s emergency supply checklist provides the official baseline and related kit categories.
Add water in amounts you can safely lift and store. Follow the container manufacturer’s storage directions, keep water away from contaminants, and include an appropriate way to dispense it. If space is tight, work toward the baseline gradually instead of letting an ideal quantity prevent you from storing any water.
Choose shelf-stable food your household already eats. Favor items that need little water, fuel, or preparation, and include a manual can opener when cans are part of the plan. Account for allergies, diabetes management, texture requirements, infant feeding, religious restrictions, and other dietary needs. The guide to planning emergency food for allergies and special diets can help with the details.
Month 3: Prepare light, alerts, and charging
Add at least one dependable flashlight or headlamp, compatible spare batteries, charging cables, and one or more power banks. Label cables so family members can quickly match them to priority devices. A battery-powered or hand-crank radio provides another way to receive official information when internet access or cellular service is unreliable. Flashlights, radios, and batteries appear on federal and National Weather Service emergency-supply guidance.
Enroll in local alerts and save the websites or frequencies used by responsible local agencies. Decide which phones and medical devices receive charging priority. Rechargeable equipment only helps when it starts charged, so add power-bank checks to your calendar. For a longer outage, use a written emergency phone charging plan to allocate limited power.
Month 4: Cover health and personal needs
Build a first-aid section and add copies of medication lists, allergies, relevant medical information, prescriber details, and pharmacy contacts. Do not assume there is one correct prescription reserve for every person. Refill rules, insurance limits, storage requirements, and clinical risks vary, so discuss emergency access and safe storage with a pharmacist or prescriber.
Add spare glasses or contact supplies where appropriate, hearing-aid batteries, mobility-device accessories, specialty foods, and supplies needed by caregivers. If someone uses powered medical equipment, document its power requirements and identify safe backup options. CDC preparedness guidance specifically emphasizes planning around prescriptions, medical devices, assistive technology, specialty food, caregivers, and backup power needs. CDC personal-needs preparedness guidance explains these considerations in more detail.
Month 5: Add sanitation, clothing, and comfort
Store basic hygiene products, soap or sanitizer, toilet paper, waste bags, menstrual supplies, diapers when needed, and materials for managing household waste if normal services stop. Keep sanitation products separate from food and water.
Add sturdy shoes, work gloves, weather-appropriate layers, rain protection, and blankets or sleeping gear. Climate changes what matters: hot-weather households may prioritize shade and extra water, while cold-weather households need insulation and a safe plan for remaining warm. Never use outdoor combustion equipment inside a home, garage, tent, or other enclosed space.
Month 6: Protect documents, cash, and communication plans
Create a protected folder containing copies of identification, insurance information, medical and prescription lists, household contacts, pet records, and relevant account or service numbers. Keep only the information you would genuinely need, protect it from water, and store sensitive records securely. Maintain a secure backup in a separate location when practical.
Complete a household communication plan with an out-of-town contact, local meeting places, an evacuation meeting place, and contact details for medical, pharmacy, utility, veterinary, school, and transportation needs. Ready.gov’s family communication materials include these categories because a contact plan is part of preparedness, not an optional extra. Use the Ready.gov family communication plan as a starting template.
Give each household member a compact contact card and review what to do if calls do not connect. Text messages may sometimes be practical when networks are strained, but no single communication method is guaranteed. Add a modest amount of cash in small denominations if your budget permits, since electronic payment systems can be affected by outages.
Month 7: Assemble a realistic go-bag
A home reserve can be large and heavy; a go-bag must be portable. Place copies of critical contacts, necessary personal health items, basic food and water, light, charging equipment, hygiene supplies, weather protection, and a few essential tools in a bag each user can realistically carry. Official checklists support maintaining supplies for home use while also preparing portable essentials for evacuation.
Do not put every critical item into a bag that may sit in a closet. Some prescriptions, mobility aids, phones, and medical devices remain in daily use. For these, attach a departure checklist to the bag and identify exactly where each item is kept. Prepare pet carriers, leashes, food, medications, records, and identification as a separate module.
Month 8: Label, test, rotate, and practice
Open every container and verify what is actually there. Test lights and radios, inspect batteries, recharge power banks, review food dates, check clothing sizes, replace damaged packaging, and update contacts and medical information. Mark containers by category so another household member can find supplies without searching through the entire kit.
Run a short household exercise. Ask everyone to locate the kit, contact cards, utility controls, go-bags, shoes, pet equipment, and meeting-place instructions. National Weather Service guidance supports periodically checking emergency supplies and practicing the household plan.
What stays home and what goes in a go-bag?
| Category | Home supplies | Go-bag |
|---|---|---|
| Water | Larger reserve built around household size and local conditions | Portable amount that does not make the bag unmanageable |
| Food | Broader shelf-stable supply with household utensils | Compact, ready-to-eat foods suited to the carrier |
| Documents | Protected originals or comprehensive secure copies | Minimum necessary copies and contact cards |
| Medications | Safely stored supplies and supporting information | Immediately necessary items plus a written pickup checklist |
| Light and power | Multiple lights, batteries, chargers, and larger backup options | Small flashlight or headlamp, cables, and compact power bank |
| Sanitation | Household hygiene and waste-management supplies | Travel-size essentials and waste bags |
| Clothing | Seasonal layers, blankets, and spare footwear | One compact change or critical weather layer |
| Pet supplies | Reserve food, water, sanitation products, and records | Carrier or leash, essential food, medicine, and identification |
How to tailor the plan to your household
- Apartments and limited storage: Use smaller containers in more than one safe location. Prioritize water, daily-critical needs, light, information, and items that are difficult to replace quickly.
- Children and infants: Add feeding supplies, diapers, comfort items, identification information, and age-appropriate contact instructions.
- Older adults and people with disabilities: Plan around mobility, transportation, communication, caregivers, sensory needs, and equipment that requires charging or maintenance.
- Pets: Include carriers or leashes, identification, food, water, medication, sanitation supplies, and veterinary contacts.
- Special diets: Store food that is safe for the actual user and can be prepared under outage conditions, not merely food with a long shelf life.
- Powered medical equipment: Document model and power information, discuss outage planning with the provider, and confirm which backup-power methods are approved for the device.
- Evacuation-prone locations: Keep bags accessible, maintain transportation alternatives, and follow official local routes and instructions rather than relying on a single familiar road.
A simple maintenance calendar
Review the kit at least seasonally or on another recurring schedule your household will follow. Tie the review to daylight-saving changes, the start of storm season, lease renewal, or another memorable date. Check food and water storage instructions, batteries, power banks, documents, contacts, medications, clothing sizes, and pet supplies.
Also review the system after any disruption. Replace items you used and record what was missing. If an outage reveals weaknesses in cold-food planning, update your process using the guide to preparing a freezer for a power outage. A useful emergency kit evolves with the household.
The best first purchase when money is tight
There is no universal first purchase because the most urgent gap varies. Begin with anything required to keep a person medically safe. After that, prioritize safe water, food that meets actual dietary needs, light, official information, and communication. Use containers, clothing, tools, and backpacks you already own before buying specialized versions.
To build emergency kit over time successfully, complete one functional layer before collecting optional gadgets. Eight months from now, the goal is not a perfect pile of gear. It is a tested household system that people can find, carry, understand, and maintain. Start this month by writing the household inventory and choosing the storage location; those two steps make every later purchase more deliberate.