Map and Compass Basics for Hikers: Orient the Map Before You Move
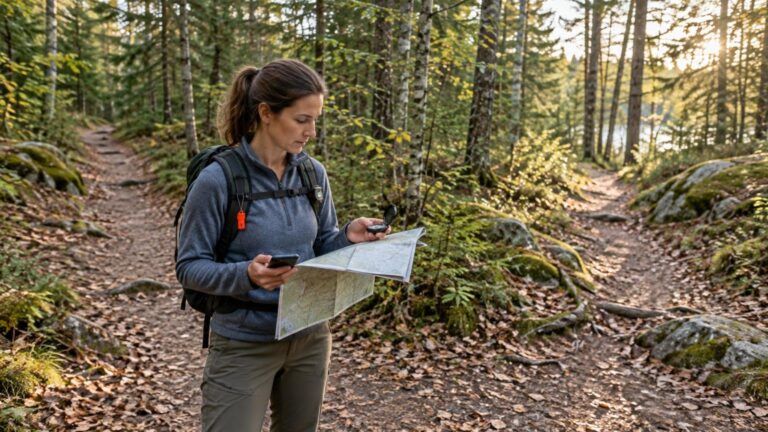
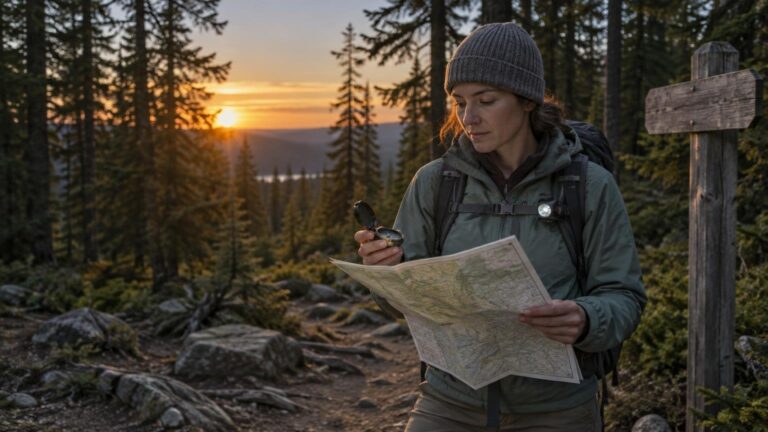
Before following a trail, orient your map so north on the map agrees with north in the landscape. Then identify your position, destination, major terrain features and at least one obvious boundary you should not cross. This short routine makes the map easier to interpret and can reveal a wrong turn before it becomes a long walk in the wrong direction.
A phone or GPS can make navigation faster, but it should not be the only system. Batteries run down, devices break and coverage may be unavailable. The National Park Service recommends knowing how to use navigation tools before departure and carrying a paper map as a backup to offline maps or electronic navigation. The NPS trip-planning guidance also recommends leaving a route and expected return time with a trusted person.
Start with the right map and compass
For backcountry travel, use a current topographic map that covers the entire planned route plus the surrounding terrain. General visitor maps can help with basic orientation, but the National Park Service notes that they may not be suitable for specialized backcountry navigation.
A topographic map shows natural and built features while using contour lines to describe the shape of the land. Its scale tells you how distance on the map relates to distance on the ground. The USGS map-and-compass guide explains these fundamental map elements and how they work together.
A clear baseplate compass is a practical choice for beginners. It should have a direction-of-travel arrow, a rotating housing, an orienting arrow and parallel orienting lines. Some models let you adjust for magnetic declination; others require you to account for it each time you transfer a direction between the map and the compass.
- Confirm that the map covers your route, trailheads and likely exit points.
- Check the map scale and contour interval before estimating distance or steepness.
- Inspect the compass for damage and make sure the needle rotates freely.
- Keep the map protected from rain, but fold it so the relevant area remains easy to view.
- Download an offline map if one is available, then carry the paper map and compass separately from the phone.
Understand the three kinds of north
A map may show true north, grid north and magnetic north. True north points toward the geographic North Pole, grid north follows the map’s coordinate grid, and magnetic north is the direction indicated by a magnetic compass. The angular difference between magnetic north and true north is called magnetic declination.
Declination varies by location and changes over time. An old value printed on a map may therefore be inaccurate. Check a current value for the hiking area and date with the NOAA magnetic declination calculator, then follow the instructions for your particular compass.
Do not rely on a memorized “add east, subtract west” rule without understanding whether you are converting a map direction to a magnetic bearing or doing the reverse. The sign and operation depend on that conversion and on how the compass is designed. An adjustable-declination compass can simplify the process once it is set correctly. With a fixed-declination compass, keep the local correction written on the map and use the manufacturer’s instructions or the applicable USGS procedure.
Orient the map before you move
Orienting a map means rotating it until mapped directions line up with the corresponding directions around you. Once oriented, a lake shown to your left should be on your left, a ridge drawn ahead should lie ahead, and trail junctions should make more visual sense.
- Move away from vehicles, fences, keys, belt buckles, phones and other metal or electronic objects that could affect the magnetic needle. USGS specifically warns that nearby metal can distort a compass reading.
- Place the map flat and locate its north indication. Confirm which north reference you are using.
- Set the current local declination if your compass supports adjustable declination. Otherwise, use the correction procedure appropriate to the map and compass.
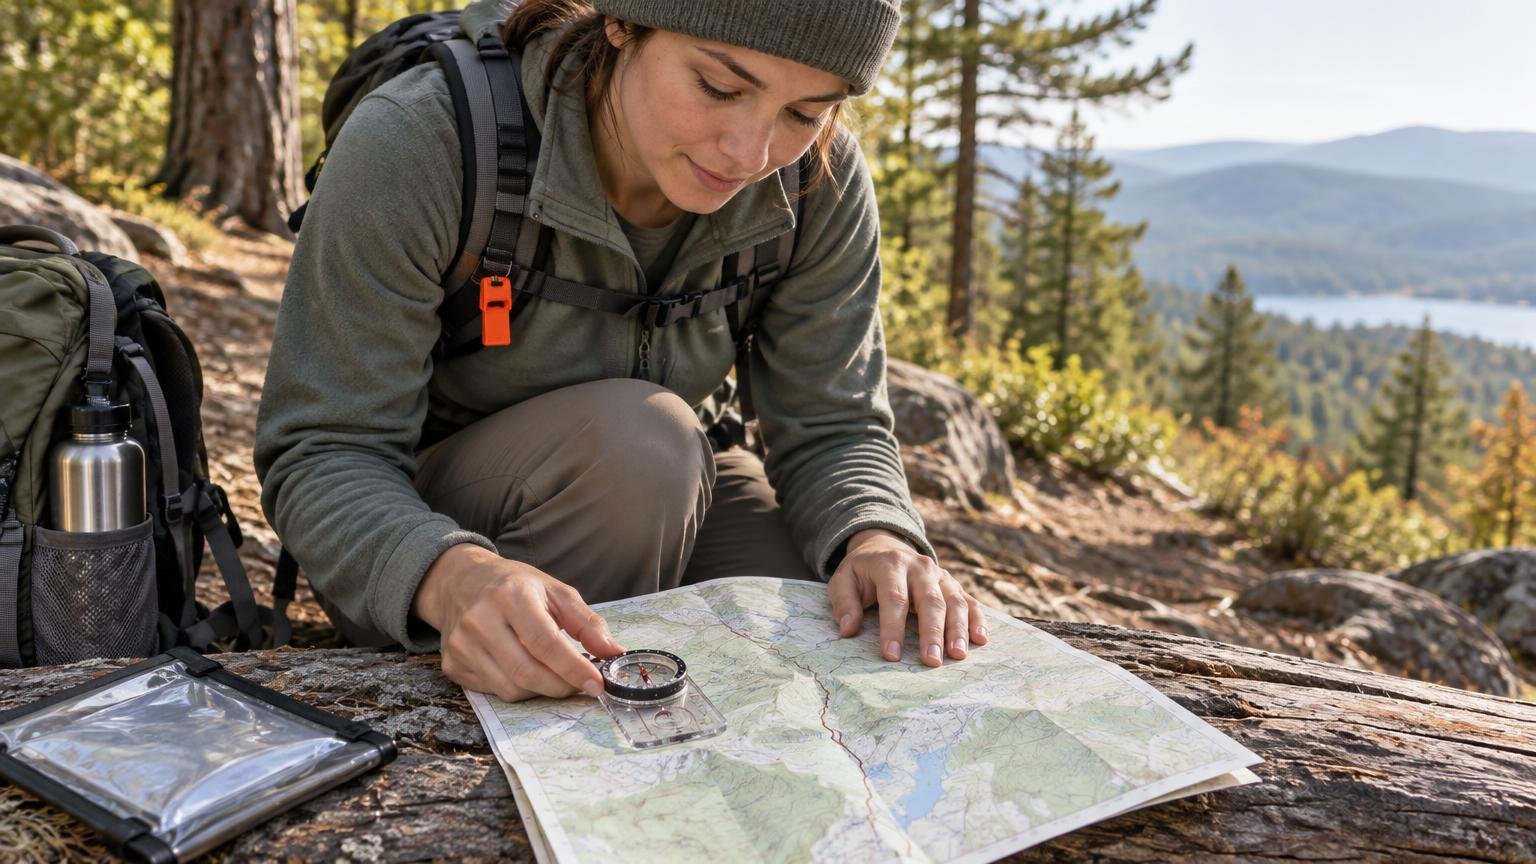
- Place the compass on the map with its orienting lines parallel to the map’s north-south lines and its direction-of-travel arrow pointing toward map north.
- Keeping the compass on the map, rotate the map and compass together until the magnetic needle aligns correctly with the orienting arrow for your compass setup.
- Compare the oriented map with visible terrain. Look for distinctive ridges, valleys, water, roads, clearings or junctions that support your assumed position.
Take a basic bearing to a destination
A bearing is a direction expressed in degrees. To establish a map bearing with a baseplate compass, first make sure you know your current position. Guessing that starting point can produce a precise-looking but useless direction.
- Place one long edge of the compass along a straight line from your known position to the destination.
- Point the direction-of-travel arrow toward the destination, not back toward your starting point.
- Rotate the compass housing until its orienting lines are parallel with the map’s north-south lines and the orienting arrow points toward map north.
- Apply the correct declination procedure for your compass.
- Lift the compass from the map and hold it level in front of you.
- Turn your body and the compass together until the magnetic needle aligns with the orienting arrow.
- Choose a visible landmark on the direction-of-travel line, such as a distinctive tree, rock or opening, and walk to it. Repeat from that landmark as needed.
This is the basic USGS method for transferring a line from the map to a travel direction. USGS also recommends moving from one visible landmark to another rather than staring at the compass while walking. See the illustrated USGS bearing method for the instrument layout and alignment sequence.
A compass points in a direction; it does not identify cliffs, rivers, private property or other hazards between you and the destination. Keep consulting the map and terrain instead of following the bearing blindly. On a marked trail, bearings are usually most useful for confirming the trail’s general direction, checking junctions and recognizing when your movement no longer matches the planned route.
Build a route that is easy to verify
Good navigation is not just maintaining a perfect bearing. It is creating frequent opportunities to confirm where you are. Divide the hike into short legs between recognizable features such as junctions, bridges, stream crossings, ridge saddles or trail bends.
For each leg, note the expected direction, approximate distance, elevation trend and feature that marks its end. Also choose a conspicuous catching feature beyond it—a road, major stream, ridge or other boundary that should warn you if you have gone too far. Never treat a dangerous feature such as a cliff or fast river as an acceptable navigation boundary.
| Before moving | While moving | At each checkpoint |
|---|---|---|
| Orient the map and verify your starting position. | Compare the trail’s direction with the map. | Stop and confirm the feature before beginning the next leg. |
| Identify the next unmistakable feature. | Watch for expected slopes, junctions and water features. | Reorient the map if your direction has changed. |
| Set a turnaround time based on daylight and conditions. | Keep track of elapsed time and unexpected delays. | Change the plan early if weather, daylight or pace is deteriorating. |
Support navigation with a safer trip plan
Map skills work best as part of a broader plan. Before leaving, give a trusted person your trailhead, intended route, group details and expected return time. Include when that person should contact authorities if you have not checked in. This information can help responders if the group does not return as planned.
Check the forecast for the actual hiking area rather than a distant town. Mountain conditions can differ sharply from nearby lower elevations. The National Weather Service notes that mountain thunderstorms often develop in the early afternoon; if you hear thunder, no outdoor location is safe, and the appropriate shelter is a substantial building or hard-topped vehicle. Review National Weather Service lightning guidance before a trip with thunderstorm potential.
Set a turnaround time that leaves a generous daylight margin. Carry a headlamp even for a planned day hike. Bring insulating layers and rain protection, and favor moisture-wicking clothing because wet cotton retains water.
Carry enough water for the route, conditions and people in the group. Needs vary with temperature, exertion, location and the individual, so a single universal quantity is unreliable. If your plan depends on natural water sources, verify that they are likely to be available and carry a suitable treatment method; Forest Service guidance says water found along a trail should be treated.
Carry simple backup and signaling systems
A basic hiking navigation kit should include the topographic map, compass, offline map or GPS, headlamp, spare power, whistle and a way to protect the paper map. These tools should remain accessible rather than buried at the bottom of the pack.
A whistle lets a lost or injured hiker signal repeatedly while conserving more energy than yelling. Bright clothing and a signal mirror can also improve visibility to searchers. For a fuller signaling plan, see how to make yourself easier to find during an outdoor emergency.
The backup principle applies to every critical function: paper map plus electronic map, compass plus identifiable terrain, headlamp plus spare power, phone plus a shared trip plan, and carried water plus a treatment option where appropriate. No single item makes a trip safe, but simple independent systems prevent one failure from becoming the entire emergency.
If the map and terrain stop matching
Stop as soon as the route feels wrong. Continuing in the hope that the next bend will look familiar usually increases the search area and consumes daylight. Breathe, note the time and assess your last confirmed location, recent direction of travel, visible landmarks and any trail or terrain boundaries nearby.
Reorient the map and compare it with the terrain. Check the phone or GPS without treating its display as infallible. Retrace your route only when you can identify it confidently and doing so is safe. If you cannot recover the route, call for help when possible and provide coordinates, your last known location, nearby landmarks, your clothing description and the details of your trip plan.
If you become disoriented, use the more detailed decision process in what to do if you get turned around on a hiking trail. The priority is not to demonstrate navigation skill. It is to avoid making the situation harder for you or for searchers.
Practice where mistakes have low consequences
Do not make a remote hike the first time you unfold the map or adjust declination. Practice in a familiar park, open trail system or other controlled location with obvious boundaries and reliable phone access.
- Find your position on the map using a trailhead, road or signed junction.
- Check the current declination and set or note it correctly.
- Orient the map and identify several visible features.
- Take a bearing to a nearby safe landmark.
- Walk landmark-to-landmark, then confirm your position again.
- Repeat the exercise in different directions until the sequence feels routine.
The most useful habit is also the simplest: stop, orient the map and verify the next leg before moving. A compass is not a magic pointer home. Paired with a suitable map, current declination, visible terrain and a conservative trip plan, however, it becomes a reliable way to notice errors early—when correcting them is still easy.
References
- Finding Your Way With Map and Compass | U.S. Geological Survey
- What is declination? | U.S. Geological Survey
- www.ngdc.noaa.gov
- Trip Planning Guide – Health & Safety (U.S. National Park Service)
- About Hiking Safety (U.S. National Park Service)
- Plan for Your Safety – North Cascades National Park (U.S. National Park Service)
- Trip Planning Guide Package
- Data Sources and Accuracy for NPS Maps – GIS, Cartography & Mapping (U.S. National Park Service)
- What do the different north arrows on a USGS topographic map mean? | U.S. Geological Survey
- How To Use a Compass with a USGS Topographic Map | U.S. Geological Survey
- Method #2 | U.S. Geological Survey
- When a Safe Building or Vehicle is Nearby
- Lightning Safety and Outdoor Sports Activities
- www.nps.gov
- Hiking Safety – Yosemite National Park (U.S. National Park Service)
- United States Department of Agriculture