
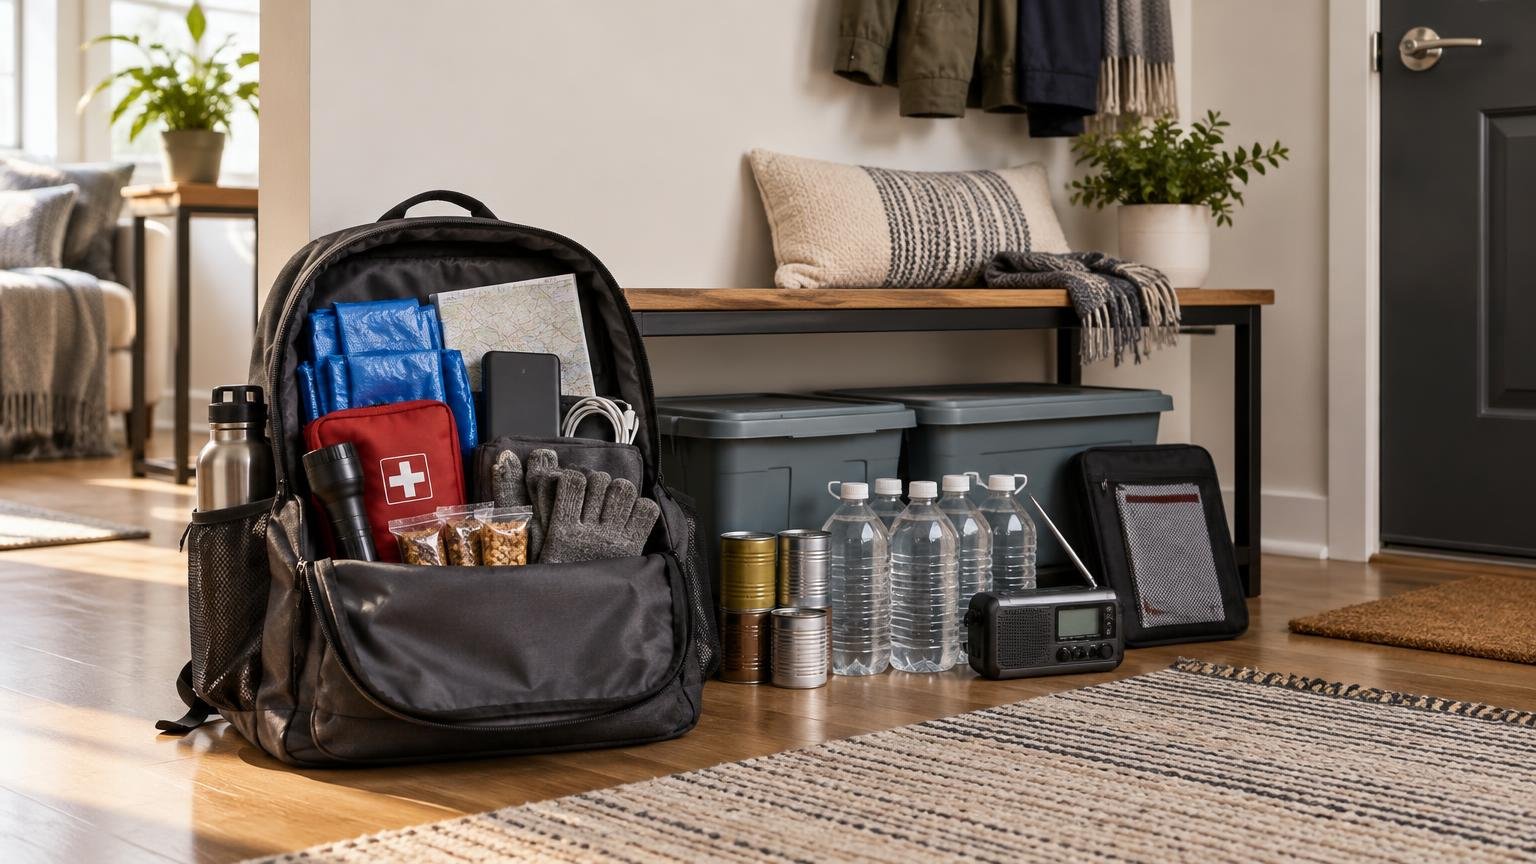
Apartment Emergency Kit: How to Prepare With Limited Storage
A useful apartment emergency kit checklist should prepare you for two different situations: leaving quickly and remaining at home during a disruption. Instead of forcing everything into one oversized tote, keep a portable go-bag near your exit and distribute shelter-in-place supplies among several safe, accessible storage areas.
Start with water, no-cook food, medications, light, communication, sanitation and essential documents. Once those basics are covered, expand the system for your building, local hazards and household needs. This approach works in a studio or one-bedroom apartment because it prioritizes access and function rather than one large dedicated storage area.
Use a two-part apartment emergency system
Ready.gov distinguishes between home emergency supplies and smaller portable kits, while apartment-specific guidance from New York City separately addresses a Go Bag and supplies kept at home. Together, these support a two-part system for apartment residents. Ready.gov’s emergency supply kit checklist provides a useful starting point for choosing the basic equipment.
| Part of the system | Purpose | Best location |
|---|---|---|
| Go-bag | Supports a rapid evacuation with portable essentials | Near the primary exit, where it remains easy to reach |
| Home cache | Supports an outage or shelter-in-place period | Distributed among closets, cabinets and under-bed storage |
| Document and medication pouch | Keeps critical information together and portable | Inside the go-bag or immediately beside it |
| Building information sheet | Records contacts, exits, meeting places and assistance needs | In the go-bag, with another copy posted at home |
The go-bag should be light enough for its intended user to carry. The home cache can hold heavier water containers, additional food, sanitation supplies and other items that would slow an evacuation. If more than one person lives in the apartment, divide portable supplies so the entire plan does not depend on one person carrying one heavy bag.
Apartment emergency kit checklist: What to buy first
When money and storage are limited, buy supplies according to the problems they solve. Ready.gov’s kit guidance includes water, nonperishable food, a flashlight, radio, batteries, first-aid supplies, a whistle, dust masks, sanitation items, tools, a manual can opener and local maps. It also recommends adding items specific to the household.
- Water that can be stored safely and rotated without requiring one person to lift an unmanageable container
- Shelf-stable food that household members already eat, including options that require no refrigeration or cooking
- Flashlights or headlamps, plus compatible spare batteries
- A battery-powered or hand-crank radio for receiving information when internet service is unavailable
- Phone-charging cables and one or more charged power banks
- A household first-aid kit and necessary personal medical supplies
- Prescription medications when an appropriate backup can be arranged
- A manual can opener if any emergency food is canned
- Toilet paper, soap, hand sanitizer, waste bags and personal hygiene supplies
- A whistle, dust masks, work gloves and basic weather protection
- Copies of important documents, written contacts, cash and spare keys
- Pet, infant, disability, mobility, dietary and other household-specific supplies
Do not delay the entire project because you cannot buy everything at once. Assemble the first layer from items you already own, then use a gradual plan such as building an emergency kit one month at a time. Test every flashlight, power bank and radio before putting it away.
Store water and food without sacrificing the whole apartment
Ready.gov uses one gallon of water per person per day for drinking and sanitation as a basic planning figure and recommends at least a three-day supply. That equals three gallons for one person, six for two people and twelve for a four-person household. These quantities become heavy quickly, so several smaller containers may be easier to move and distribute than one large container.
The American Red Cross recommends planning for three days of supplies during evacuation and two weeks of water and food at home. Treat these as different planning horizons rather than an all-or-nothing rule: first establish a portable evacuation supply and a three-day home baseline, then expand the home supply as your space, budget and local risks allow. For container selection and placement, see this guide to storing emergency water at home.
Keep stored water away from household chemicals and places exposed to damaging temperatures. Spread its weight across suitable storage areas rather than concentrating every container on one shelf. Label supplies with the storage date and follow the container or product instructions for replacement.
Choose compact foods with a long shelf life that you know your household can eat. Useful categories include canned meals, beans, fish, nut or seed butter, crackers, shelf-stable milk, dried fruit and ready-to-eat snacks. Check whether each item needs water, heat or a can opener. During an outage, food that can be eaten safely without cooking simplifies the plan.
Dietary restrictions matter more than variety. If someone has allergies, diabetes, swallowing difficulties or another food-related need, build the cache around safe foods and realistic serving sizes. A separate guide explains how to plan emergency food for allergies and special diets.
Build a go-bag that you can actually carry
A go-bag is not a miniature version of everything in the apartment. It covers immediate mobility, information and personal needs. Store it near your usual exit without blocking the doorway, corridor or access to safety equipment.
- Water and compact, ready-to-eat food
- Prescription medications and a written medication list
- Basic first-aid supplies
- Phone cable, wall charger and charged power bank
- Flashlight or headlamp with spare batteries
- Small radio if it is practical to carry
- Copies of identification, proof of address and insurance information
- Written household, medical and out-of-area contacts
- Cash in small denominations and spare keys
- Face masks, hand sanitizer, tissues and basic hygiene supplies
- Weather-appropriate layer, sturdy footwear and spare socks
- Local map, whistle and a pen
- Essential pet, infant or accessibility supplies
Adjust the bag to the person carrying it. Children, older adults and people with mobility limitations may require smaller bags or a plan in which another household member carries shared equipment. Review stair access and any assistance arrangements before an emergency rather than assuming an elevator or helper will be available.
Create one document, medication and money pouch
Paperwork is easy to overlook because it does not resemble survival equipment, but it can help establish identity, residence, medical needs and contacts after an evacuation. Apartment preparedness guidance from New York City includes waterproof copies of identification and proof of address, insurance information, keys, cash, medication details, physician contacts and information about medical conditions or allergies.
- Copies of identification and proof of residence
- Lease, condominium or renters-insurance information that may be needed after displacement
- Medication names, doses, schedules, allergies and prescriber or pharmacy contacts
- Health insurance information and essential medical instructions
- Household phone numbers, including an out-of-area contact
- Building management, landlord, superintendent or HOA contact details
- Copies of pet identification and veterinary information where applicable
- A small amount of cash and a spare set of necessary keys
Place paper copies in a water-resistant pouch. Secure digital copies can provide another layer of access, but they should not be the only copies because a dead phone, network outage or forgotten password can make them unavailable. Review medication plans with the appropriate prescriber or pharmacist; refill rules and suitable backup quantities vary.
Plan for power, alerts and communication
A phone is valuable only while it has power and can connect to a working network. Write down important numbers, designate an out-of-area contact and choose both a nearby meeting place and one outside the immediate neighborhood. Ready.gov and NYC Emergency Management emphasize alerts, written contacts, meeting places, support networks and planning for pets and people with access or functional needs.
- Enable relevant official emergency alerts on household phones.
- Save the websites, phone numbers or radio frequencies used by local emergency management.
- Keep one charged power bank reserved for disruptions.
- Reduce unnecessary phone use and screen brightness during a prolonged outage.
- Use a battery or hand-crank radio as a separate information source.
- Give every household member a paper contact card and clear meeting instructions.
Charging capacity should match your actual devices and the likely outage duration. The guide to creating an emergency phone charging plan explains how to allocate limited battery capacity without assuming that cellular service will remain available.
Make an apartment-specific information sheet
Generic supply lists cannot tell you how your building operates. Ask building management for the current emergency procedures, then compare them with instructions from local emergency officials. Do not assume that procedures from another property apply to yours. Ready.gov also advises learning utility shutoff procedures from an appropriate professional or utility provider before a disaster.
- Building management and after-hours maintenance numbers
- The primary exit and at least one alternate route, if the building provides one
- The location of designated stairs and outdoor household meeting points
- Building instructions for fires, severe weather, utility failures and other relevant hazards
- Where official notices are posted or distributed
- How residents who need evacuation assistance should request or arrange it
- A nearby support contact or trusted neighbor
- Pet evacuation arrangements
- The location of permitted utility controls and who is authorized to operate them
Walk the route under normal conditions. Notice locked doors, stair locations and obstacles that could affect a child, older adult, service animal or mobility device. Keep exits clear. During an actual emergency, follow instructions from emergency services and building officials rather than relying only on your practice plan.
Customize the kit for people, pets and local hazards
A generic checklist becomes useful only after it reflects the household. Ready.gov and the Red Cross advise accounting for prescriptions, glasses, infants, pets, documents, cash, hygiene and weather-appropriate clothing. Caregiver guidance also calls for planning around medications, assistive technology, care teams and backup power needs.
- Infants and children: diapers, feeding supplies, comfort items, suitable food and updated spare clothing
- Pets: food, water, medication, leash or carrier, waste supplies and identification
- Older adults: medication details, mobility equipment, hearing or vision supplies and support contacts
- Medical devices: charging requirements, battery options and a documented outage plan developed with the appropriate provider
- Special diets: safe foods that require little preparation and are clearly separated from unsafe items
- Local hazards: supplies appropriate for the official guidance in your area, such as smoke protection, winter warmth or storm evacuation needs
Use small-space storage strategically
FEMA’s apartment-focused hurricane guidance notes that limited storage can be addressed with spaces such as closets, under beds and behind couches. The exact hurricane supply horizon in that guidance is hazard-specific, but the storage principle applies broadly.
- Keep the go-bag visible or easy to reach near the exit.
- Use shallow under-bed containers for food, hygiene supplies or lightweight equipment.
- Store small amounts of supplies in more than one cabinet so one blocked area does not contain everything.
- Use the back of a closet door for a lightweight organizer containing small items.
- Keep a compact light and footwear beside the bed.
- Do not block exits, electrical panels, fire equipment, sprinklers, heaters or building access points.
- Avoid storage arrangements that can fall, leak or make shelves unstable.
- Label containers by function so supplies can be found in low light.
Maintain the system in ten minutes
Emergency-kit components can expire, lose charge or stop fitting household needs. Ready.gov educational material specifically notes that food, water, batteries and children’s spare clothing may need replacement or updating. A short recurring review is more reliable than building the kit once and forgetting it.
- Test flashlights, radios and power banks.
- Check food, water, medication and battery dates.
- Confirm that clothing, shoes and children’s supplies still fit.
- Update contacts, document copies and building information.
- Replace used cash, hygiene items and first-aid supplies.
- Confirm that every household member knows the meeting places and can locate the go-bag.
Review the system at least twice a year and after a move, household change, medication change or major local hazard event. Use a calendar reminder tied to two memorable dates.
Build the first layer today
Begin with three actions: place a carryable bag near the exit, establish your first three days of water and no-cook food, and create a document-and-medication pouch. Next, add lighting, charging, sanitation and communication equipment. Finally, customize the system for your building, household and local hazards.
The goal is not to fit every conceivable emergency product into a small apartment. It is to keep the right supplies accessible, divide them between evacuation and at-home needs, and maintain a plan that everyone in the household can use.
References
- Additional Items to Consider Adding to an Emergency Supply Kit:
- APARTMENT BUILDING EMERGENCY PREPAREDNESS GUIDE
- ReadyAdditional Items to Consider Adding to an Emergency Supply KitPrescription medications and glassesPrepare. Plan. Stay Informed. ®Infant formula and diapersPet food, water and supplies for your petImportant family documents such as copies of insurance policies,
- Ready
Prepare. Plan. Stay Informed.AdAdditional It - What Do You Need In a Survival Kit | American Red Cross
- Plan Ahead for Disasters | Ready.gov
- Businesses – NYCEM
- Student Tools for
- Be Ready New York | Emergency Preparedness – NYCEM
- Are You Ready?An In-Depth Guide to Citizen Preparedness
- TAKE
CONTROL IN
1
2
3
Disaster Preparedness Guid - Hurricane Preparedness for Apartment

