How to Make Yourself Easier to Find During an Outdoor Emergency
TLDR: The practical answer to “how to be found outdoor emergency” is to leave a detailed trip plan, stay on the planned route, carry several low-tech signals, and stop unnecessary movement once you have requested help. If your position is unsafe because of wildfire, rising water, lightning, unstable terrain, or another immediate threat, move only as far as necessary to reach a safer place and report the change if possible.
Being found starts before anyone realizes there is an emergency. A trusted contact needs to know where to begin looking, while you need enough navigation, signaling, clothing, water, and shelter to remain safe and noticeable. No single device guarantees rescue. A simple system with overlapping backups is more dependable than relying entirely on a phone.
Start with a searchable trip plan
Leave your plan with a responsible person who is not joining the outing. The National Park Service recommends this step and warns that unreported route changes can make someone harder for search personnel to locate. Your contact should understand both when you expect to return and when an overdue arrival becomes serious enough to notify authorities.
A useful trip plan includes:
- Your name, mobile number, and the names of everyone in the group
- The destination, route or trail name, trailhead, and parking location
- Your planned direction of travel, turnaround point, and intended campsite if applicable
- Your start time, turnaround time, and expected return time
- A vehicle description and license plate number
- Clothing colors and distinctive equipment, such as a bright pack or tent
- Relevant medical or mobility concerns that responders may need to know
- The time your contact should call for help and the agency or emergency number to contact
Give the plan to someone who will notice that you are late. A note left only inside your parked vehicle may eventually help, but it does not provide active monitoring. When you finish safely, close the loop immediately so your contact does not start an unnecessary emergency response.
If you intentionally change routes, tell your contact while you still have service. Otherwise, stay with the filed plan. An apparently minor shortcut can move you away from the area where responders would logically begin searching.
Stay found with conservative navigation and daylight decisions
Choose an outing suitable for the least experienced person in the party. Check distance, elevation, junctions, water crossings, expected daylight, and realistic travel speed. Establish a firm turnaround time rather than treating the destination as something you must reach.
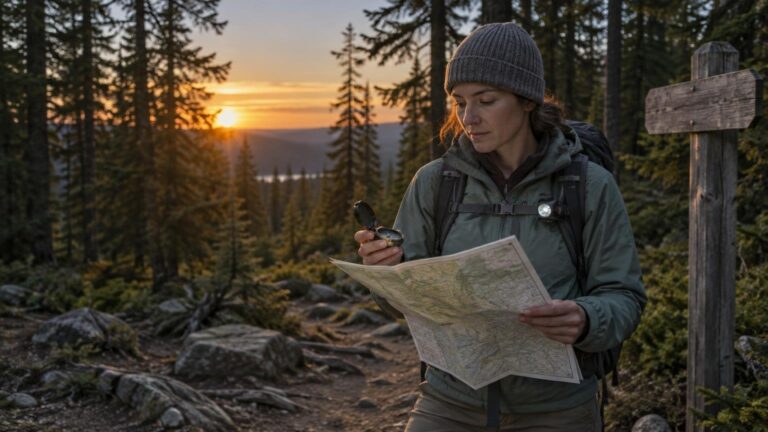
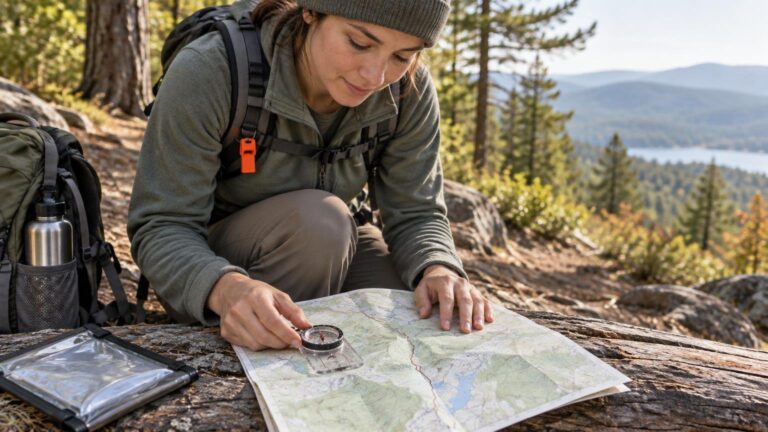
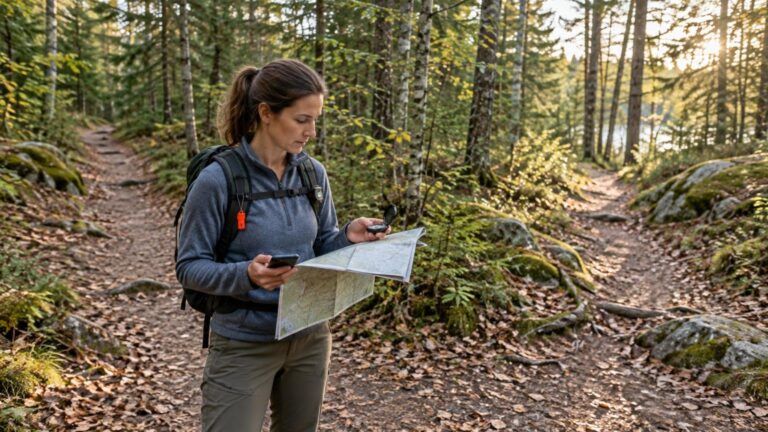
Navigation should be a system, not a single app. The National Park Service identifies maps, compasses, and GPS devices as navigation tools and recommends carrying a physical map backup and learning how to use your equipment before departure. Downloading a map is useful, but it does not replace understanding your route or noticing landmarks.
At junctions, pause and confirm the trail before continuing. Notice trail names, signs, bridges, streams, ridgelines, and other features you could later describe. Keep the group together, especially near intersections. If separation is unavoidable, agree in advance on a specific meeting point rather than asking people to search in different directions.
Turn around before fading light, worsening weather, or fatigue pressures you into rushed decisions. Carrying a headlamp does not make unfamiliar nighttime navigation equivalent to daylight travel. It gives you illumination for emergencies and careful movement, not permission to ignore a turnaround time.
Check weather early and change plans early
Review the current local forecast, watches, warnings, trail conditions, closures, and fire restrictions immediately before leaving. The National Weather Service’s outdoor weather guidance recommends understanding the hazards at the destination, discussing a backup plan, and changing plans early when conditions deteriorate. Weather can vary considerably with terrain and elevation.
Decide what would make you cancel, shorten, or relocate the outing before you arrive. Examples include a thunderstorm threat on an exposed route, extreme heat with little shade, a flooded crossing, heavy smoke, or a forecast that exceeds the group’s clothing and shelter capacity. An early decision made at the trailhead is usually easier than a retreat made after conditions have worsened.
Carry signals that do not depend on cell service
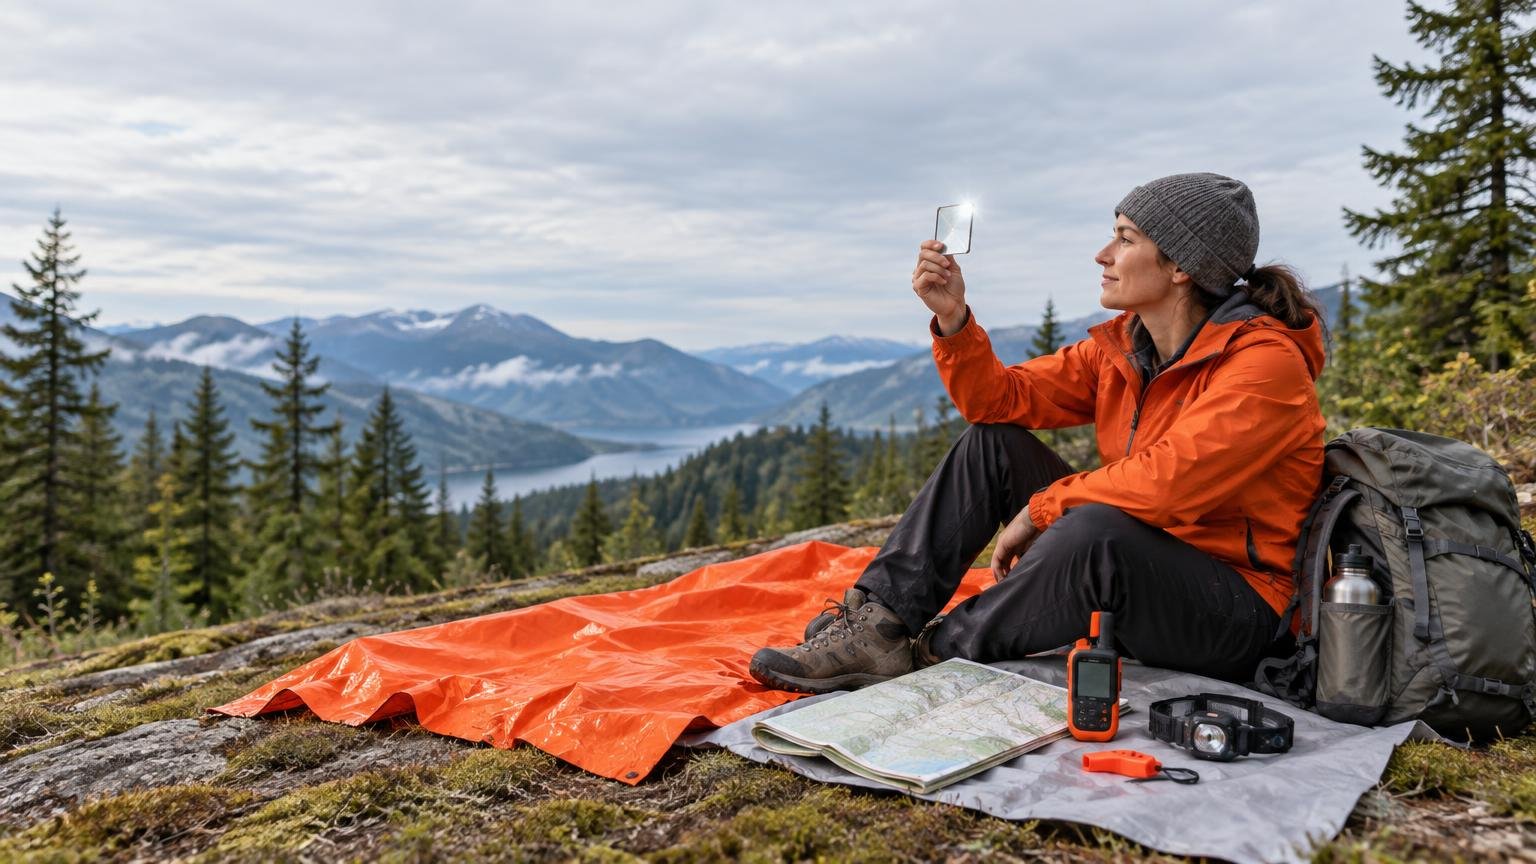
A small signaling kit should work even when the phone is dead or outside coverage. NPS recommends items including a whistle, signal mirror, bright clothing, and shelter. It notes that whistling consumes less energy than yelling and that a mirror does not require batteries.
| Item | Why it helps |
|---|---|
| Whistle | Produces a repeatable sound without the effort required for prolonged yelling. |
| Headlamp or flashlight | Makes you visible after dark and leaves your hands free; pack spare batteries if the design uses them. |
| Signal mirror or reflective item | Can attract attention at long distances in suitable daylight without consuming battery power. |
| Bright outer layer | Creates contrast against vegetation, soil, or snow and can also add weather protection. |
| Emergency shelter | Helps control exposure and can create a larger visible shape when placed in a safe open area. |
| Paper map and compass | Provide navigation backups when batteries, screens, or reception fail. |
| Phone and power bank | Support navigation and communication where the relevant services are available. |
The wider day-hike kit should also contain water, food, first-aid supplies, weather-appropriate extra clothing, and a practical way to handle an unexpected wait. Illumination, extra clothing, water and treatment supplies, food, first aid, navigation, and emergency shelter are included in the NPS Ten Essentials framework. A compact outdoor kit can borrow the same layered approach used when you build a family emergency kit, but every item should be sized for the route and carried by the group.
How to be found in an outdoor emergency
If you realize you are lost, stop before uncertainty turns into aimless travel. Breathe, account for everyone, address urgent injuries, and identify immediate environmental threats. Look at your map and recent route without wandering in several directions. The Forest Service supports staying calm, avoiding aimless walking, and remaining in place when injured, exhausted, or close to nightfall.
Contact 911 if you can. Provide information in a deliberate order:
- State the nature of the emergency and any immediate danger.
- Give coordinates if you can obtain them reliably, then describe landmarks, trail names, signs, junctions, water features, or your last confirmed location.
- Name your trailhead, intended route, direction of travel, and approximate time since your last known point.
- Report the number of people, injuries, medical concerns, ages when relevant, and available shelter or supplies.
- Describe clothing colors, packs, tents, lights, and other visible equipment.
- Explain whether you are staying in place or must move away from a specific hazard.
NPS advises giving 911 the route or starting point, location or landmarks, clothing, party details, and the nature of the emergency. Answer follow-up questions carefully and follow the dispatcher’s instructions. Do not assume a dropped call means responders received every detail.
Stay put unless remaining creates an immediate danger
After communicating your position, unnecessary movement can separate you from that reported location. NPS therefore advises against moving unless the current location presents an immediate threat to life. Staying put is especially sensible when you are injured, exhausted, near darkness, or unable to navigate confidently.
Movement may still be necessary to escape rising water, wildfire, unstable terrain, severe exposure, or another immediate hazard. Move toward the nearest safer location rather than beginning an open-ended attempt to hike out. If communication is available, report where you are going, why you must move, and any recognizable feature at the new position.
Self-rescue is more reasonable when you know your location, know the safe route, have enough daylight and physical capacity, and have not been told to remain in place. If those conditions are missing, more movement can enlarge the search area and consume the energy you need for warmth and signaling.
Make your position noticeable while you wait
Choose the safest visible location nearby. Put on the bright layer before you become cold, place reflective or high-contrast equipment where it can be seen, and use your shelter to create a larger recognizable shape. Keep essential gear with you rather than spreading it so widely that it becomes difficult to retrieve.
Use your whistle in repeated bursts, then pause and listen. At night, use a light intermittently to signal while retaining enough power for necessary tasks. In sunlight, a mirror or reflective item can direct flashes toward likely observers. Avoid risky improvisations such as starting an uncontrolled signal fire.
Conserve your phone as a communication tool. Reduce screen brightness, use low-power settings, close unnecessary applications, and avoid repeatedly refreshing maps or making nonessential calls. Protect the phone and spare battery from moisture and temperature extremes. If a dispatcher asks you to keep the phone available or change a setting, follow those instructions.
Prevent a search problem from becoming an exposure emergency
Your ability to wait safely can matter as much as your ability to signal. Add insulation before you are shivering, put on rain and wind protection early, and separate yourself from wet or cold ground. Use shelter where it protects you without placing you beneath dead limbs, beside rising water, or in another hazardous position.
Manage drinking water carefully. Clear natural water can still contain disease-causing germs. The CDC says boiling is the most reliable treatment when water safety is uncertain; filtering followed by disinfection is another general approach. Carrying adequate water and an appropriate treatment backup is preferable to assuming a clear stream is safe. For equipment considerations, see this guide to choosing a wilderness water purifier.
Treat thunder as a warning to seek proper shelter. The National Weather Service says no outdoor location is safe during a thunderstorm. A substantial enclosed building or hard-topped vehicle is appropriate shelter; tents and small or open structures are not lightning-safe shelters. Do not remain in an exposed place merely because it provides better visibility to searchers.
One-minute outdoor emergency checklist
- File a route, schedule, vehicle description, party list, and overdue action time with a trusted contact.
- Check the destination-specific forecast, warnings, closures, fire restrictions, and expected daylight.
- Carry a paper map and compass, and know how to use them.
- Pack a whistle, headlamp, bright layer, reflective signal, shelter, first aid, food, water, and treatment backup.
- Keep the group together and confirm the route at every uncertain junction.
- Turn around when the agreed time, weather threshold, or group limit is reached.
- If lost or injured, stop, assess danger, locate yourself, communicate, and avoid aimless movement.
- Make yourself visible and audible while conserving warmth, energy, phone power, water, and food.
Common questions
Should I stay put or try to hike out?
Stay put when you have reported your position, are injured or exhausted, darkness is approaching, or you cannot identify a safe route confidently. Move when remaining exposes you to an immediate threat, or when you clearly know your location and safe route and self-rescue is practical. Tell responders about any necessary movement when possible.
Can I rely on my phone?
Use it, but do not make it your only navigation or signaling system. Coverage, batteries, weather, damage, and unfamiliar features can all limit its usefulness. Carry a paper map, compass, whistle, light, and visible clothing as independent backups.
What is the simplest effective signal kit?
A whistle, headlamp, bright outer layer, reflective item, and visible emergency shelter cover sound, nighttime visibility, daytime contrast, and exposure protection without requiring complicated equipment.
Make the plan before the emergency
The most useful next step is simple: create a reusable trip-plan template and place a whistle, headlamp, bright layer, paper map, and compact shelter with your outdoor gear. Before each outing, update the route, return time, weather limits, and contact instructions. Being easier to find is not about one dramatic rescue signal; it is about leaving a clear starting point, avoiding preventable route changes, and remaining safe and noticeable when plans go wrong.
References
- Outdoor Emergency Plan (U.S. National Park Service)
- Ten Essentials (U.S. National Park Service)
- Staying Weather-Ready in the great outdoors this summer
- Intermountain Region | Recreating Outdoors: Planning, Hiking, Hunting, Fishing, Equestrian | Forest Service
- About Water Treatment Options When Hiking, Camping, or Traveling | Drinking Water | CDC
- Lightning Safety and Outdoor Sports Activities
- When a Safe Building or Vehicle is Nearby