Road Trip Emergency Kit: What to Carry Beyond a Spare Tire
TLDR: Build a core kit, then add trip-specific modules
A useful road trip emergency kit checklist goes well beyond a spare tire. Pack a compact core that helps you contact assistance, stay visible, manage minor tire or battery trouble, and wait safely. Then add supplies for the route, season, passengers, pets, and likely delay.
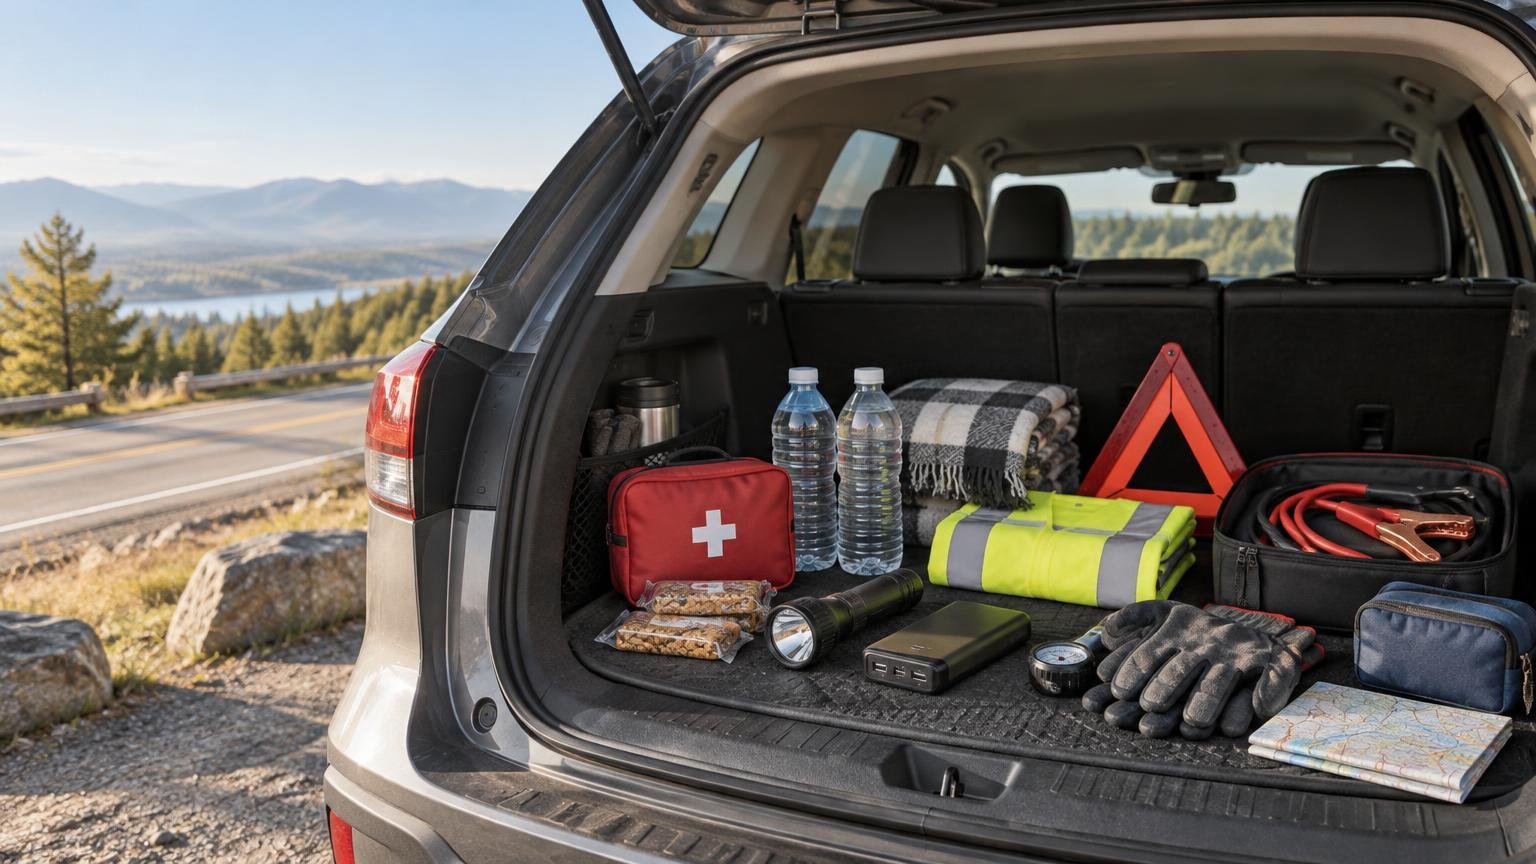
At minimum, carry a charged phone and charging options, printed contact information, light, visibility gear, water, shelf-stable food, first-aid supplies, gloves, basic tire and battery equipment, a blanket, and personal necessities. Before leaving, confirm that the spare, jack, and lug wrench are present and usable. A kit cannot compensate for an unserviceable vehicle or a missing vehicle-specific tool.
The road trip emergency kit checklist
Organize the kit by purpose rather than buying one oversized bag of loosely related gear. The National Highway Traffic Safety Administration includes communication, maps, water, food, medicines, first aid, lighting, jumper cables, tire tools, gloves, basic tools, and blankets among its suggested road-trip supplies. NHTSA’s road-trip guidance also recommends checking weather, traffic, road conditions, tires, and the spare before departure.
Communication and trip information
- Charged mobile phone
- Vehicle charging cable and adapter
- Charged power bank stored according to its manufacturer’s instructions
- Printed emergency contacts and roadside-assistance details
- Paper map covering the route and possible detours
- Written itinerary or shared trip plan
- Pen and small notepad
Do not make a phone your only source of essential information. A dead battery, damaged device, or area without data coverage can prevent access to contacts and maps. Keep a concise car emergency information card in the vehicle, balancing useful medical and contact details against privacy if the car is lost or broken into.
Visibility and safe waiting
- Flashlight or headlamp
- Spare compatible batteries, if applicable
- High-visibility vest or outer layer
- Reflective warning devices appropriate for the route and vehicle
- Bright signaling cloth or flag
- Work gloves
- Rain shell or poncho
- Reflective emergency blanket
Warning-device rules and safe placement vary by road, jurisdiction, conditions, and vehicle class. Read the instructions before the trip and check applicable local requirements. Never walk into a traffic lane to place equipment. If the roadside location makes deployment dangerous, prioritize getting occupants away from the immediate hazard and calling emergency services.
Tire, battery, and minor vehicle trouble
- Serviceable spare tire or the vehicle’s supplied mobility system
- Correct jack, lug wrench, wheel-lock key, and vehicle-specific adapters
- Tire-pressure gauge
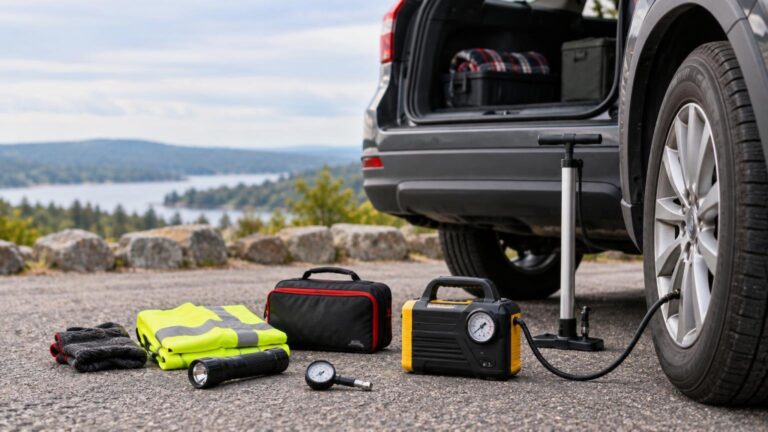
- Portable inflator, if you know its limits and how to use it
- Jumper cables, maintained portable jump starter, or both
- Basic tools appropriate for the vehicle
- Kneeling pad or ground mat
- Paper towels or shop towels
- Small roll of durable tape for temporary noncritical uses
A compact inflator can help with a slow pressure loss, but it cannot make a badly damaged tire safe. Likewise, a jump starter is only useful if it is charged and compatible with the vehicle. The choice between cables and a battery pack depends on whether another vehicle is likely to be available, storage conditions, and your maintenance habits; this jump starter versus jumper cables guide explains the tradeoffs.
Practice locating the jack points, spare, wheel-lock key, and tools at home. Do not attempt a roadside tire change where traffic, soft ground, poor visibility, fire, flooding, or severe weather makes the task unsafe. Roadside assistance is often the better choice.
Water, food, first aid, and comfort
- Drinking water in containers suitable for expected storage conditions
- Shelf-stable, easy-to-open food that passengers will actually eat
- First-aid kit
- Personal medications and medical supplies stored as directed
- Hand sanitizer and cleaning wipes
- Toilet paper and sealable trash bags
- Blanket and spare clothing layer
- Small towel
- Sunscreen and insect repellent when appropriate
There is no single amount of vehicle water that fits every road trip. Passenger count, heat, trip length, remoteness, health needs, and possible delays all change the requirement. Carry more for remote or hot routes, but treat vehicle water as a travel reserve rather than the household’s entire emergency supply. Ready.gov recommends adapting supplies to household members and pets and maintaining smaller portable kits for vehicles in addition to a larger home kit. A separate family emergency kit should cover broader needs at home.
Choose food that tolerates the expected environment and does not create extra preparation work. Check labels and manufacturer instructions before leaving food, medicine, batteries, or power banks in a vehicle exposed to heat or freezing temperatures. Ask a pharmacist how to transport temperature-sensitive medication rather than assuming it can remain in the trunk.
Add a climate module
The core kit should stay fairly compact. Climate modules can be added for a particular trip and removed when they are no longer appropriate.
Cold-weather module
- Warm hat, insulated gloves, and dry wool or synthetic socks
- Warm layers sized for each traveler
- Blankets or sleeping bags appropriate for expected cold
- Ice scraper and snow brush
- Small shovel
- Traction material
- Waterproof footwear
- Additional food and accessible water
- Weatherproof bag for dry clothing
National Weather Service winter-preparation guidance includes blankets, lighting and spare batteries, first aid, booster cables, a shovel, traction material, warm clothing, food, water, and maps. If stranded in winter, the agency advises staying with the vehicle and clearing snow from the exhaust pipe before operating the engine for heat. Staying with the vehicle generally makes occupants easier to locate, but immediate dangers such as fire, unstable terrain, rising water, or a hazardous traffic position can require evacuation.
Heat and sun module
- Additional drinking water
- Wide-brimmed hat
- Loose, lightweight, light-colored clothing
- Sunscreen
- Safe shade item for use well away from traffic
- Cooling cloths or similar supplemental comfort items
Heat risk changes with destination, activity, hydration, age, and health. Young children, older adults, and people with some chronic conditions may become ill more quickly. CDC travel guidance emphasizes fluids, shade, and suitable clothing. Review the CDC’s heat guidance for travelers when planning a hot-weather route. Cooling towels and small fans may improve comfort, but they do not replace water, shade, timely assistance, or emergency care for signs of heat illness.
Pack a passenger-specific pouch
A generic roadside kit does not account for everyone in the vehicle. Pack a labeled pouch for needs that would become urgent during an unexpected wait.
- Children: diapers, wipes, age-appropriate food, spare clothing, comfort item, and necessary restraint information
- Older adults or medically vulnerable passengers: required supplies, medication list, clinician or caregiver contacts, and backup mobility items where practical
- People who use glasses or hearing devices: spare glasses, protective cases, and compatible batteries or charging equipment
- Pets: water, bowl, food, leash or harness, waste bags, medication, and identification information
Keep genuinely time-critical items accessible from the passenger compartment rather than buried under luggage. Review the pouch for each trip because passenger needs, prescriptions, pet supplies, and clothing sizes change.
What to do when the vehicle stops
No single breakdown procedure is right for every location. Traffic speed, shoulder width, weather, smoke, fire, flooding, and nearby safe areas all affect whether occupants should remain inside or leave. Use this sequence as a decision framework:
- Move as far from moving traffic as the vehicle and conditions safely allow. Avoid stopping in a travel lane if the vehicle can reach a safer location.
- Turn on hazard lights and make the vehicle visible without stepping into traffic.
- Assess immediate hazards. Call emergency services if the vehicle or occupants are exposed to traffic, fire, smoke, rising water, violence, or a medical emergency.
- Contact roadside assistance. Give the road name or number, nearest marker or exit, direction of travel, vehicle description, problem, and passenger needs.
- Remain in the safest available place. In many ordinary roadside situations, staying belted inside the vehicle may reduce exposure, but leave if remaining creates a greater immediate danger.
- Conserve phone power. Reduce unnecessary screen use while keeping the device available for updates and emergency calls.
- Use food, water, warmth, and shade supplies deliberately while waiting.
If you must leave the vehicle, move away from traffic and never stand between vehicles or beside the traffic-facing side of the car. Follow instructions from emergency responders, transportation officials, or roadside personnel at the scene.
Prepare the vehicle before packing more gear
Prevention is more valuable than another gadget in the trunk. Before a long trip, check the weather, traffic, road conditions, route restrictions, and available fuel or charging stops. NHTSA recommends inspecting tires—including the spare—and using the pressure listed on the vehicle placard or in the owner’s manual, not the maximum pressure molded into the tire sidewall.
- Check tire condition and pressure when appropriate for the vehicle and tire instructions
- Inspect the spare or confirm how the supplied mobility system works
- Verify that the jack, lug wrench, wheel-lock key, and adapters are present
- Check exterior lights, wipers, washer fluid, and other owner-serviceable fluids
- Address warning lights before departure
- Confirm that the battery or charging system is ready for the route
- Start with adequate fuel or charge and identify realistic stops
- Check for open recalls using the vehicle identification number
- Tell a trusted person the route and expected arrival time for remote travel
Store and rotate the kit
A vehicle kit is exposed to vibration and temperature swings. Store heavy tools low and secure them so they cannot become projectiles during sudden braking or a collision. Keep urgent communication, medical, visibility, and weather items accessible without unloading the entire trunk.
Inspect the kit before major trips and during seasonal changes. A quick rotation should include:
- Charge and function-check the power bank, jump starter, flashlight, and inflator
- Replace expired or damaged food and first-aid supplies
- Inspect water containers for leaks, damage, or storage concerns
- Confirm medication dates and storage requirements
- Replace corroded batteries and inspect charging cables
- Wash or replace used clothing, blankets, and sanitation supplies
- Update maps, contacts, roadside membership details, and passenger information
- Swap winter and heat modules as conditions change
- Recheck the spare, tools, and wheel-lock key
The practical takeaway
Start with communication, visibility, water, first aid, and the equipment needed for the vehicle’s actual tire and battery systems. Add a climate module and passenger pouch only after that core is complete. Then secure the kit, practice finding the tools, and put a recurring seasonal inspection on your calendar. The best road trip kit is not the largest one—it is the one matched to the trip, maintained between trips, and accessible when a routine delay becomes an emergency.